If you’re into JAMStack, chances are you’re already using a headless CMS on your project.
This is a 2-part tutorial on how you could build a fast static site with Nuxt.js, Prismic, and Netlify.
Part 1: Setting up Nuxt.JS and Prismic
Part 2: Deploying Nuxt.JS + Prismic with Netlify
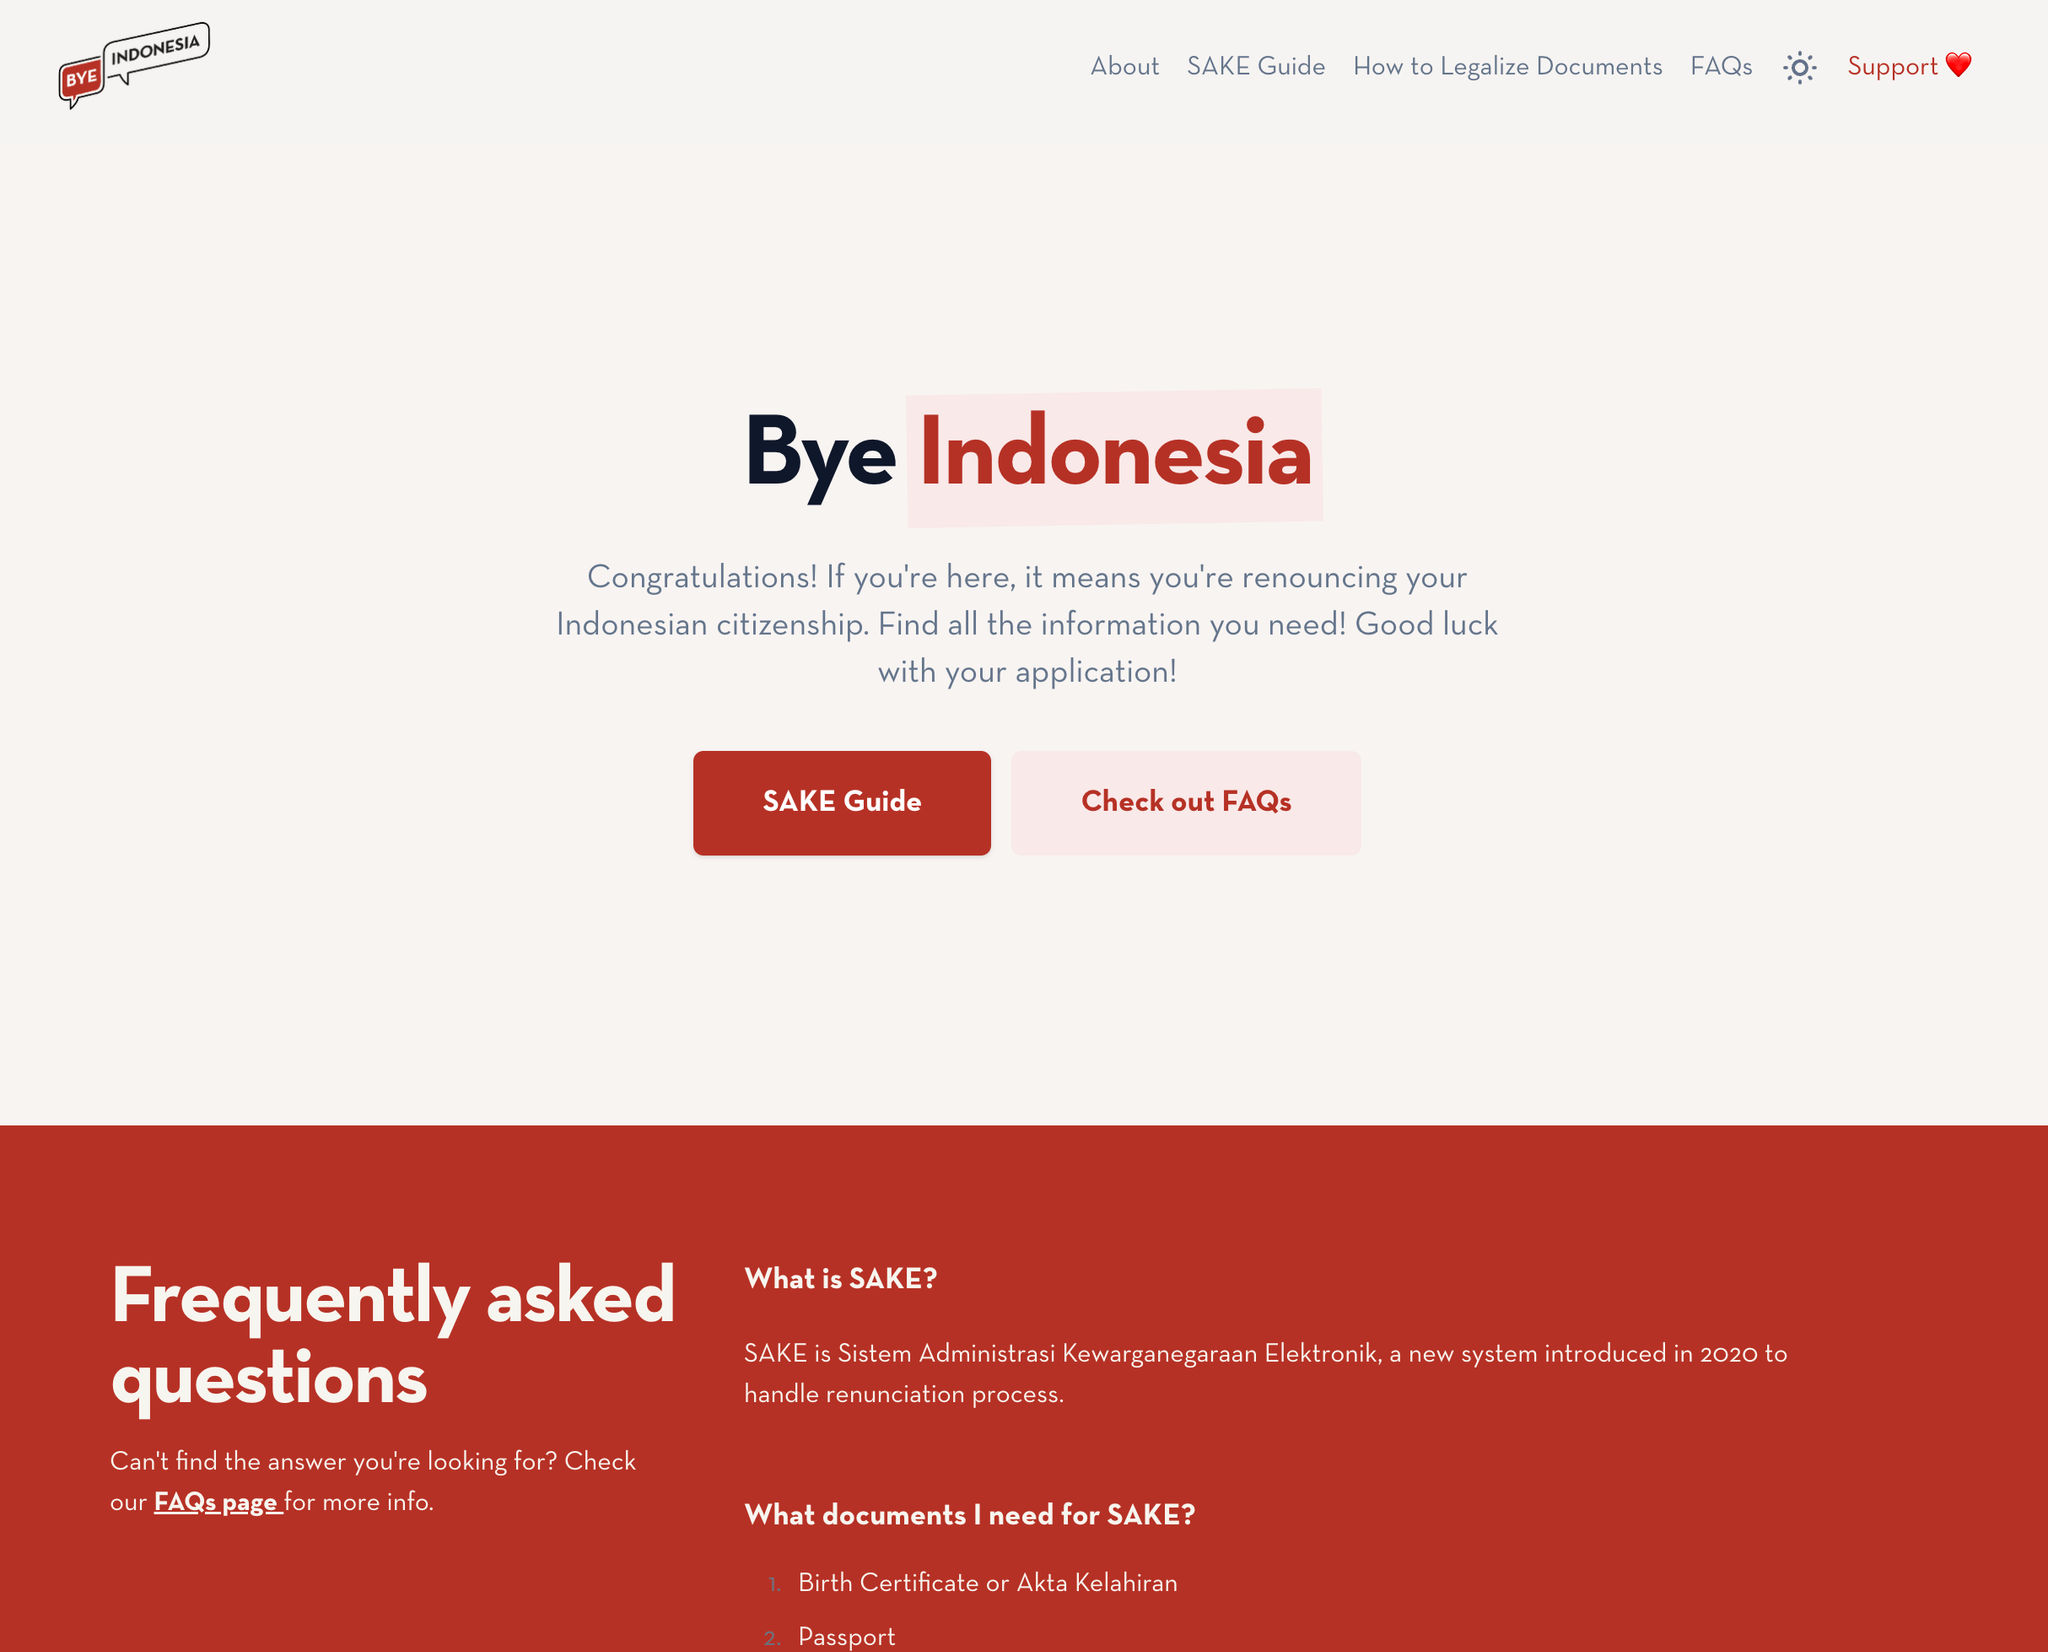
In the first part of the tutorials, I will show you how I built ByeIndonesia.
Setup Nuxt.JS and Prismic Module
First off, create your Nuxt.js project. You could run any of the following commands:
- With npx
npx
npx create-nuxt-app <my-project>- With npm
npm
npm init nuxt-app@latest <my-project>- With yarn
yarn
yarn create nuxt-app <my-project>Next, connect your Nuxt.js app to your content hosted on Prismic.
Note: Head over to Prismic to create your account, if you haven’t done so.
Install @nuxtjs/prismic library by running:
Install @nuxjs/prismic
npm i --save-dev @nuxtjs/prismic or yarn add --dev @nuxtjs/prismicNext, add @nuxtjs/prismic to buildModules section of nuxt.config.js.
nuxt.config.js
{
buildModules: [
'@nuxtjs/prismic'
],
prismic: {
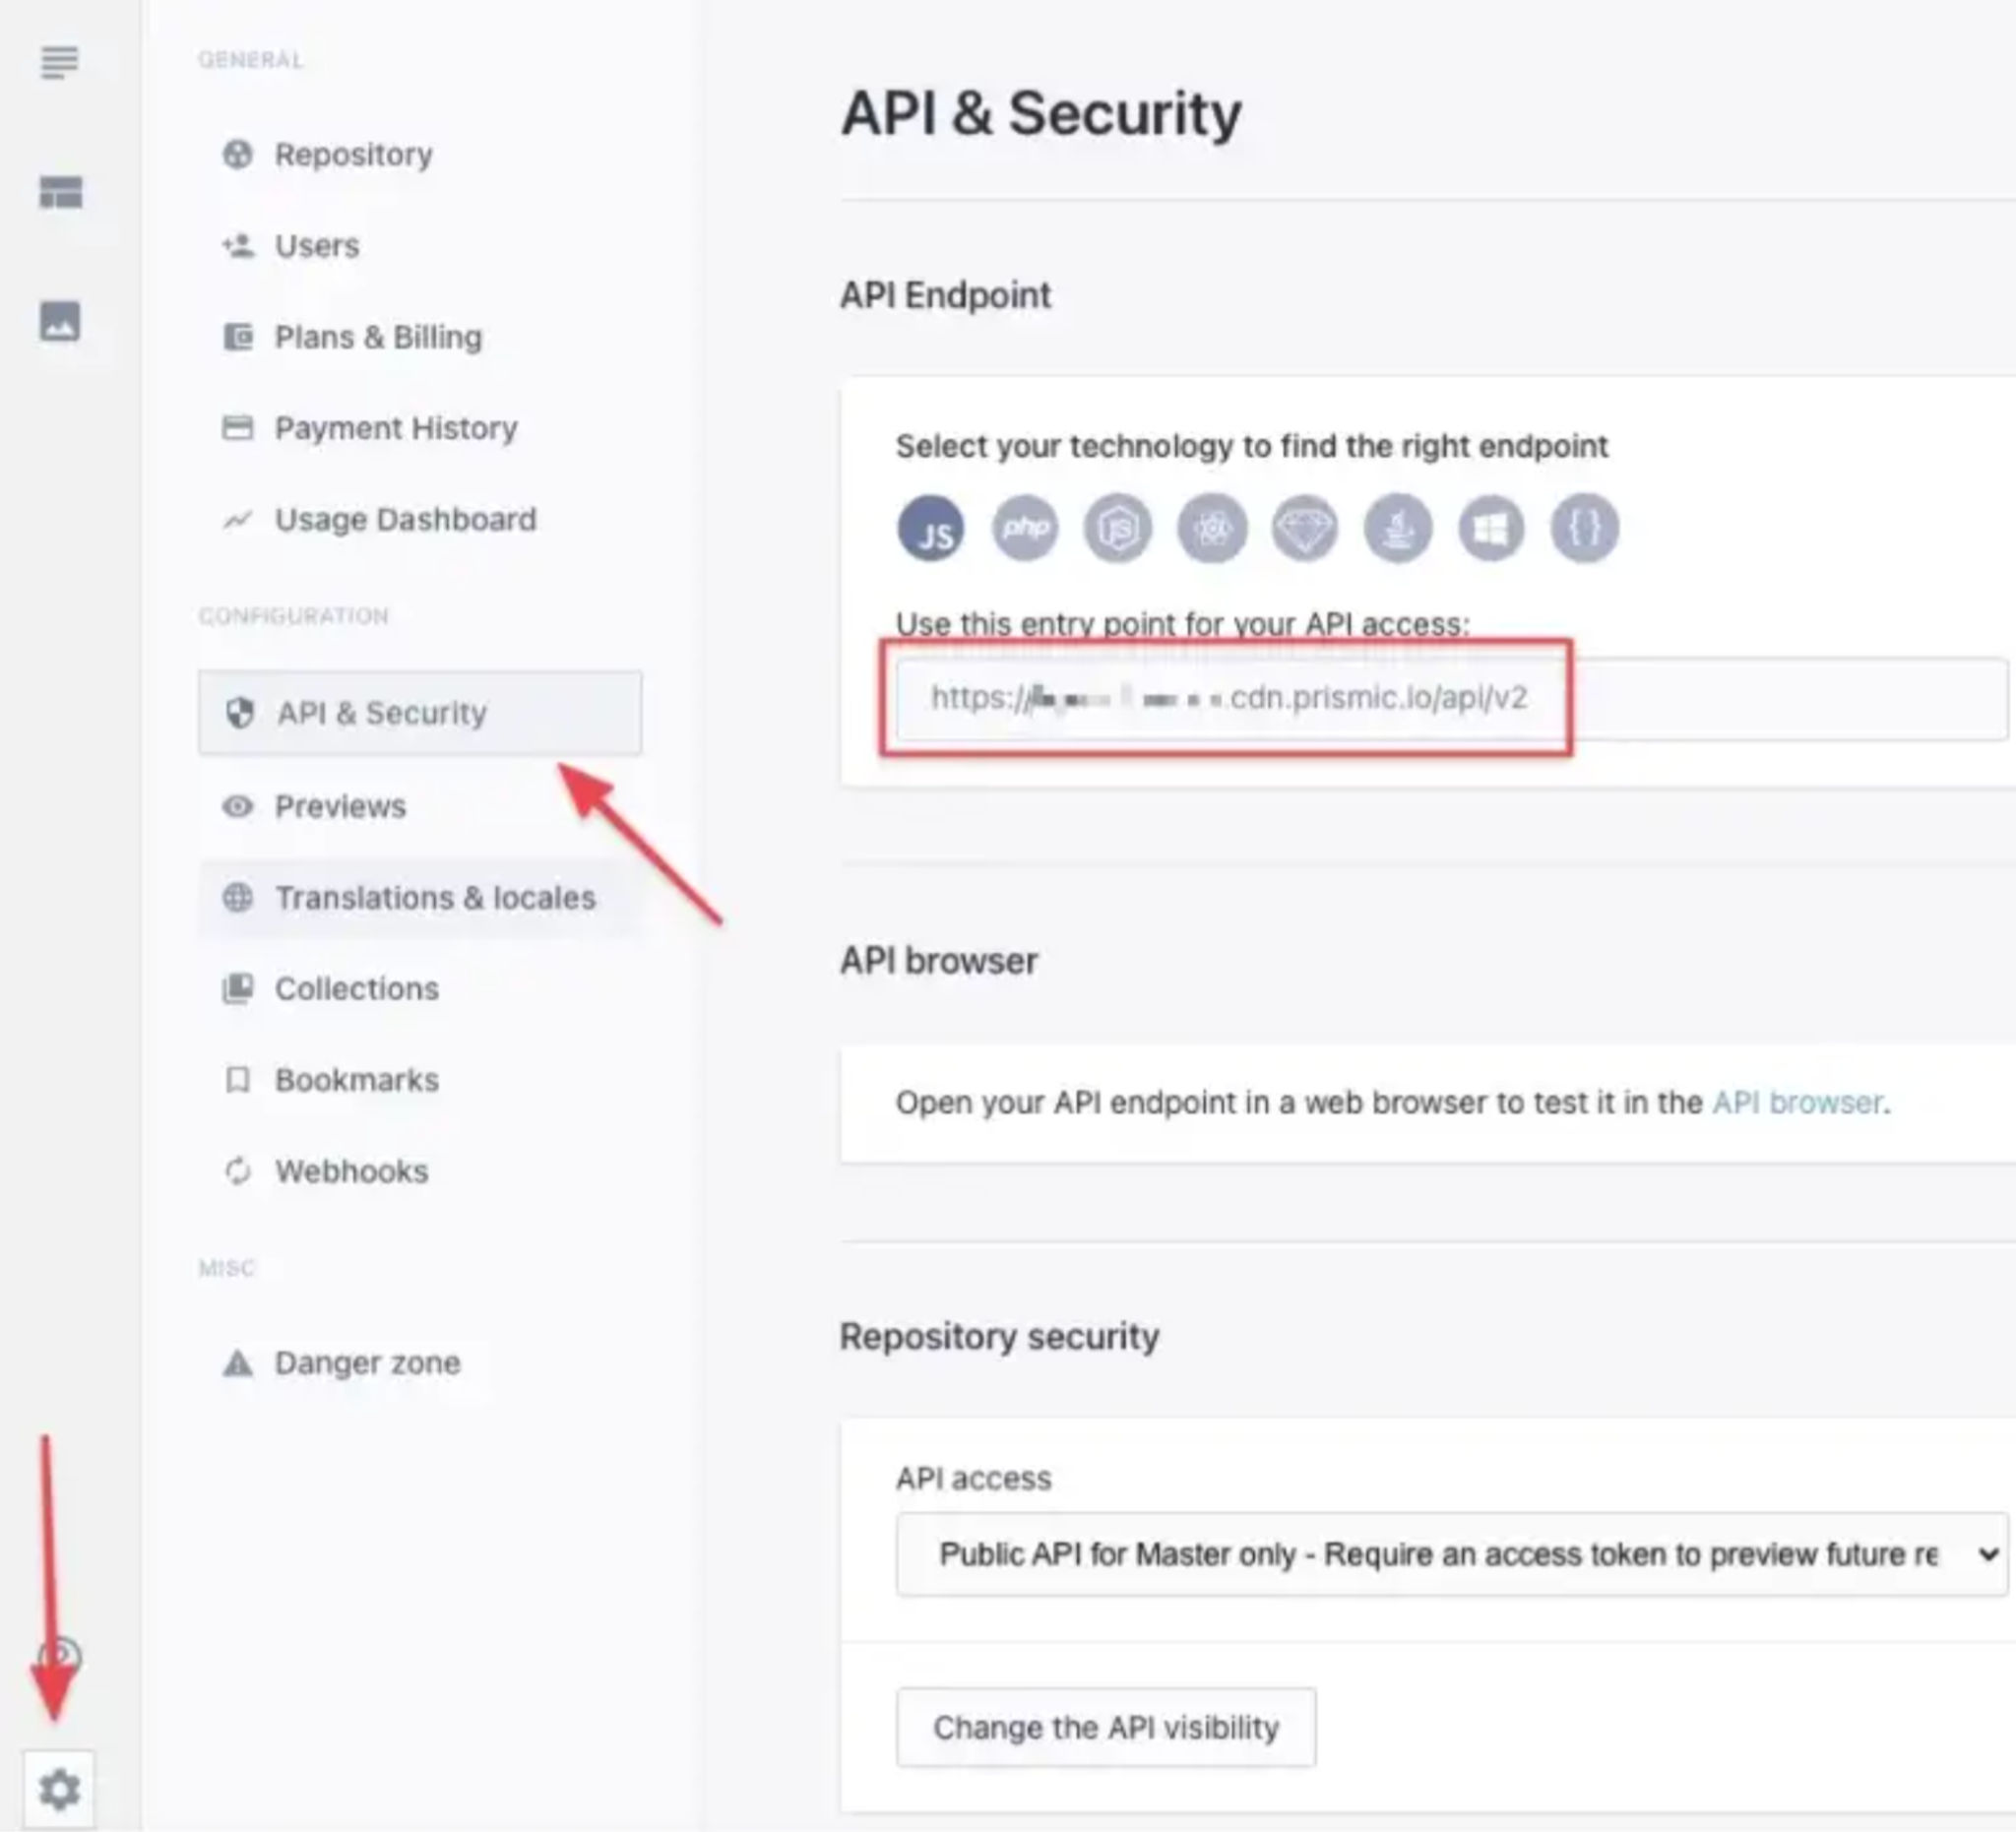
endpoint: 'https://<REPOSITORY>.cdn.prismic.io/api/v2',
modern: true
/* see configuration for more */
}
}To find your Prismic endpoint, go to “Settings” > “API & Security”:
Last, add a link resolver function at ~/app/prismic/link-resolver.js :
Add Link Resolver
/**
 * To learn more about Link Resolving check out the Prismic documentation
 * https://prismic.io/docs/vuejs/beyond-the-api/link-resolving
 */

export default function(doc) {
  if (doc.isBroken) {
    return '/not-found'
  }

  if (doc.type === 'homepage') {
    return '/'
  }

  if (doc.type === 'page') {
    return '/page/' + doc.uid
  }

  // return '/not-found'
  return '/'
}
We’re done with the basic setup. You could run npm run dev and access your application on http://localhost:3000.
I also use Copy.ai to construct headlines and marketing copies across my projects.
Setup Prismic Content
Head over to the “Custom Types” page and create a new custom type.
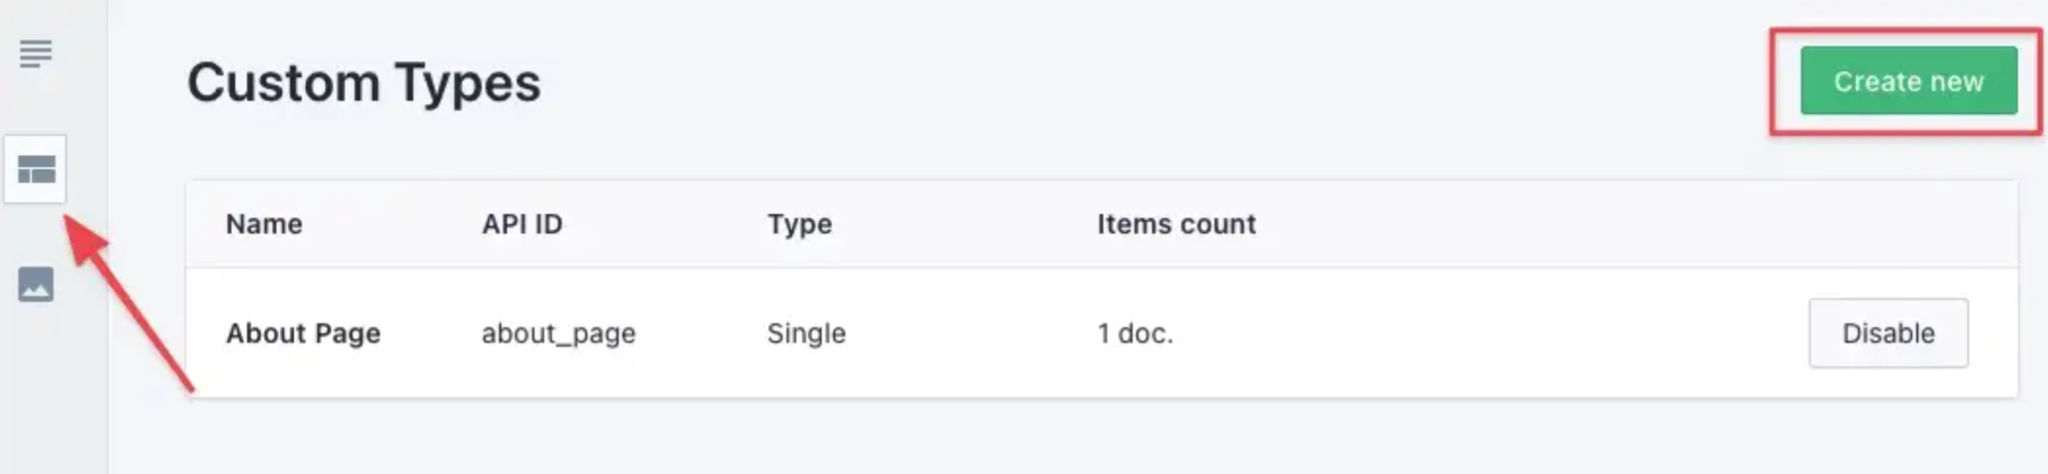
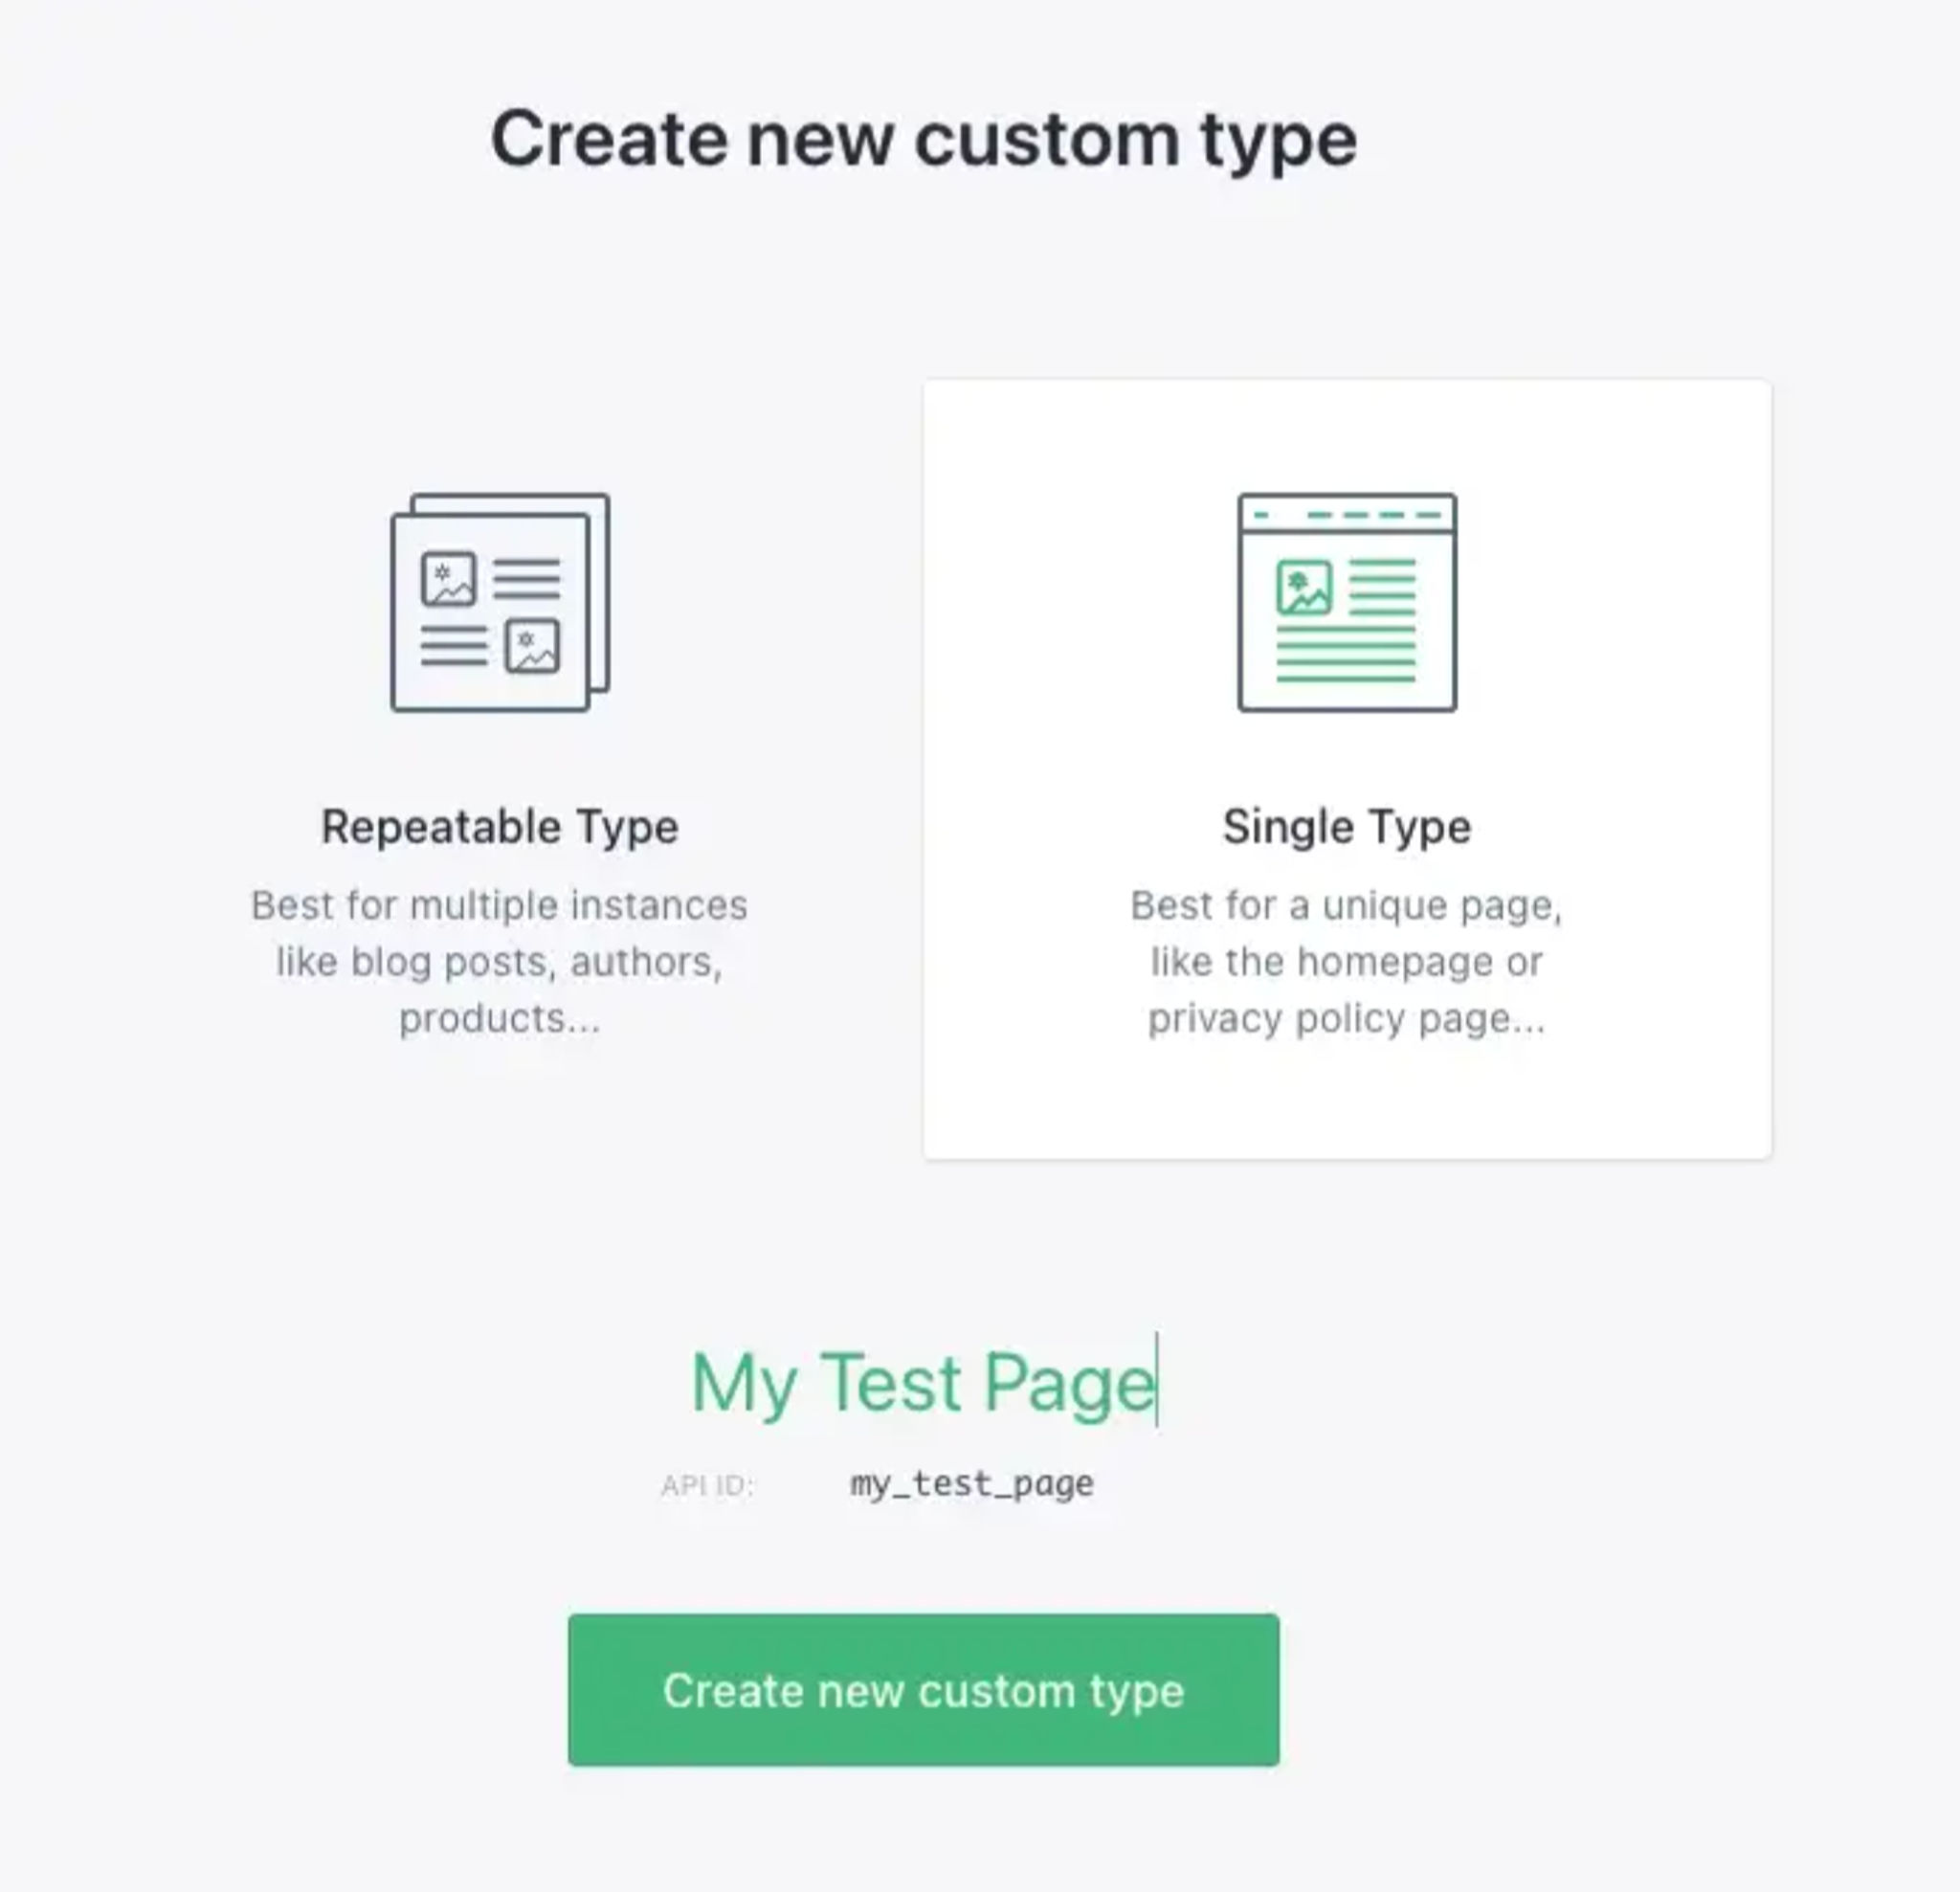
There are 2 custom types, you could choose.
- Repeatable type: Suitable for repeated content like blog posts, products, et
- Single type: Suitable for unique page content like homepage, about page, etc
This is how my “About Page” custom type looks like:
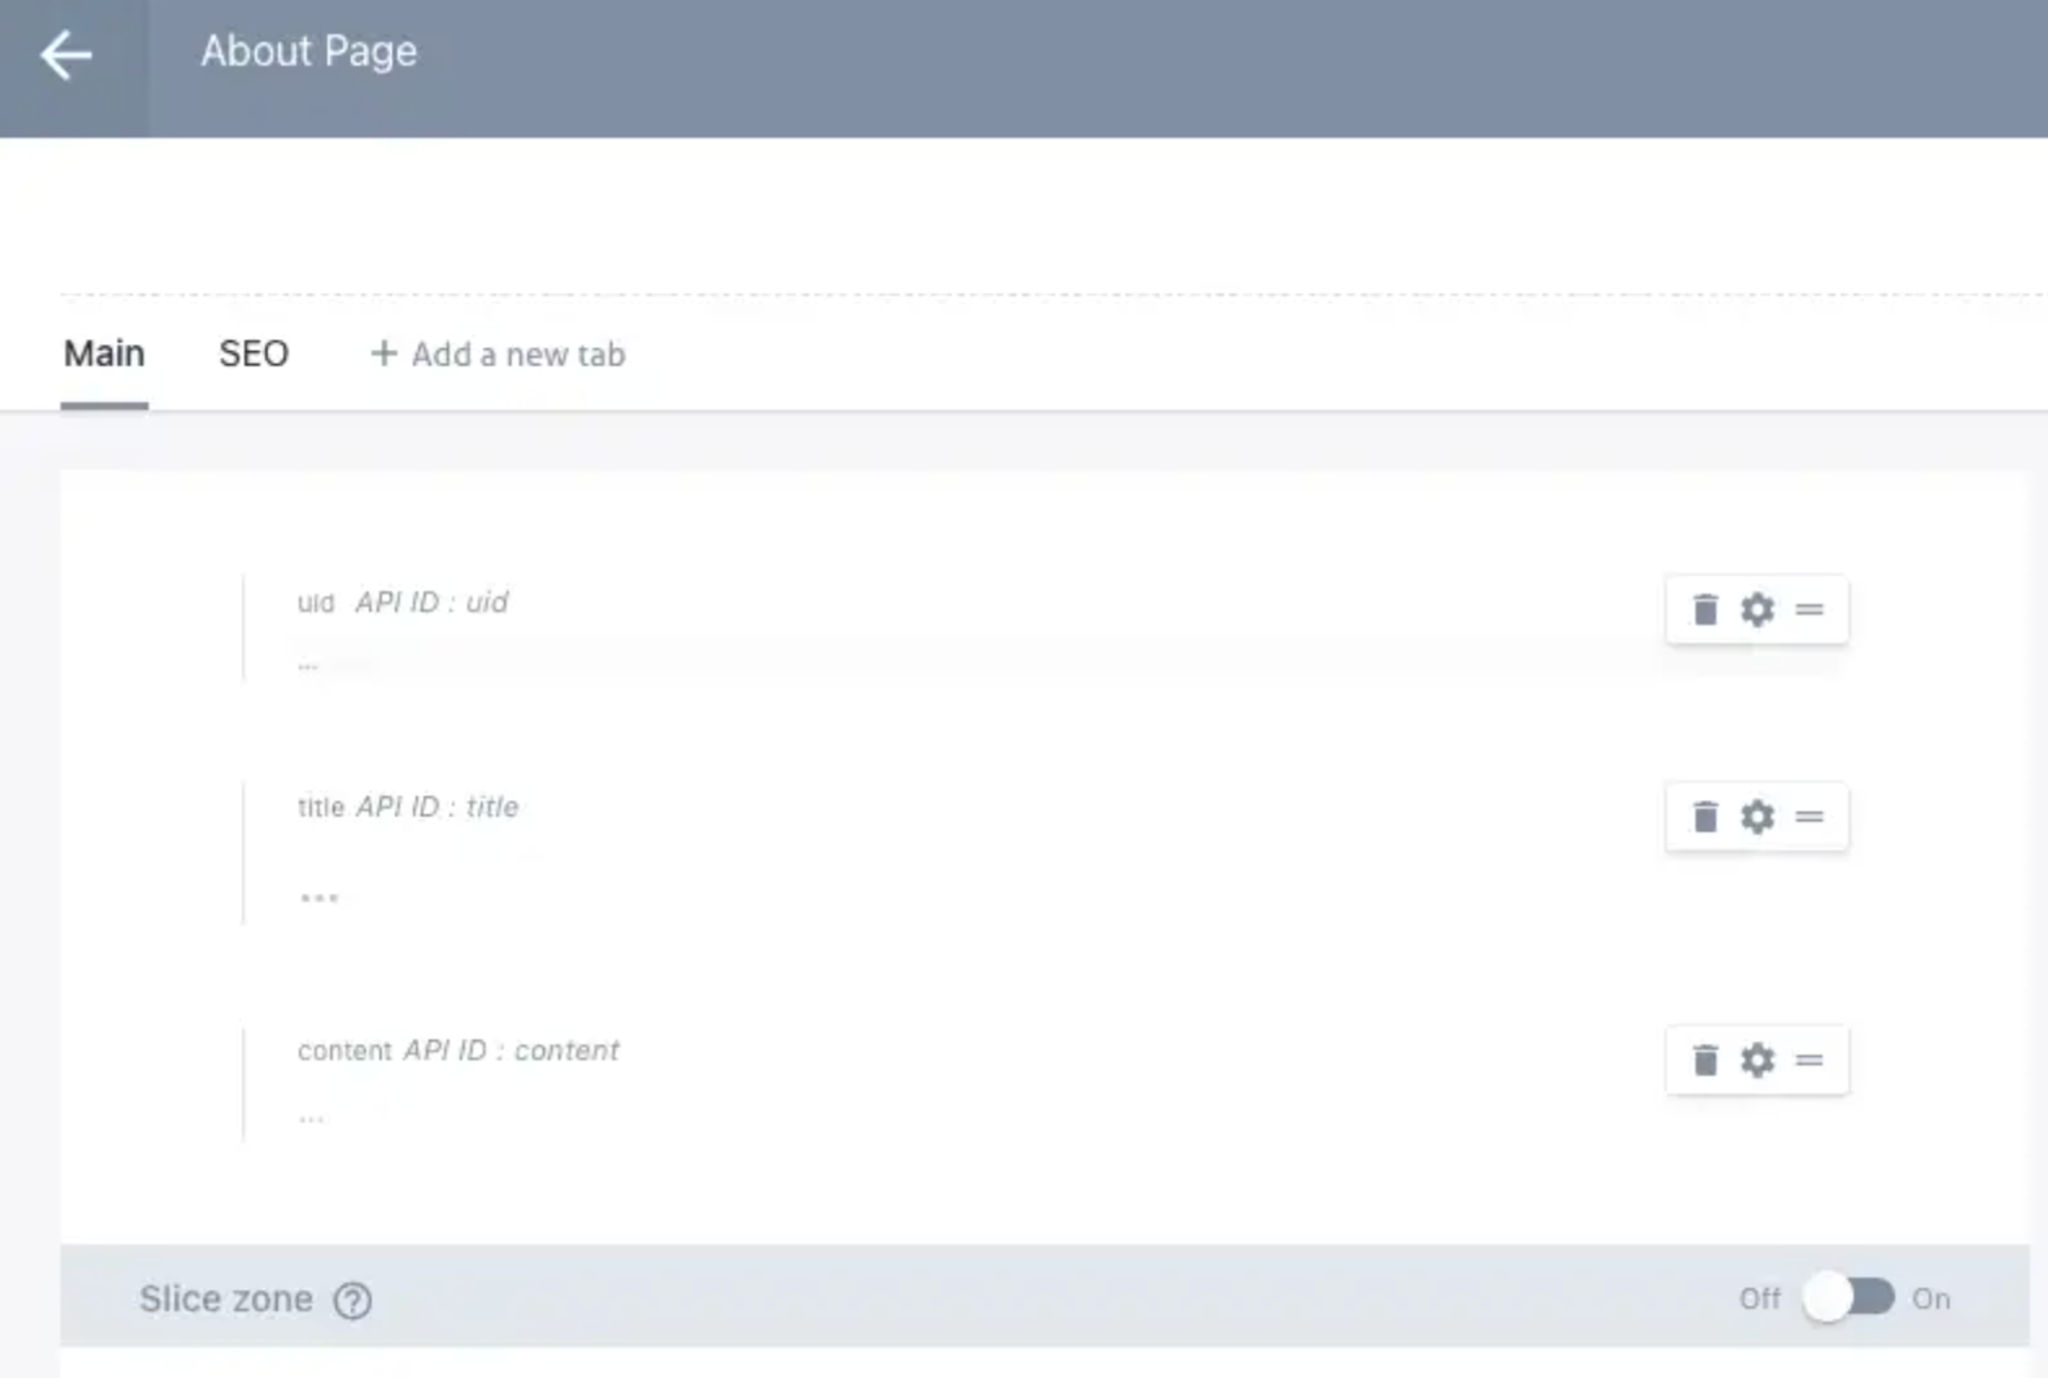
Tips: you could create a new tab to separate out fields onto different view to organize the fields
Next, head over to the “Documents” page and write content for the About Page.
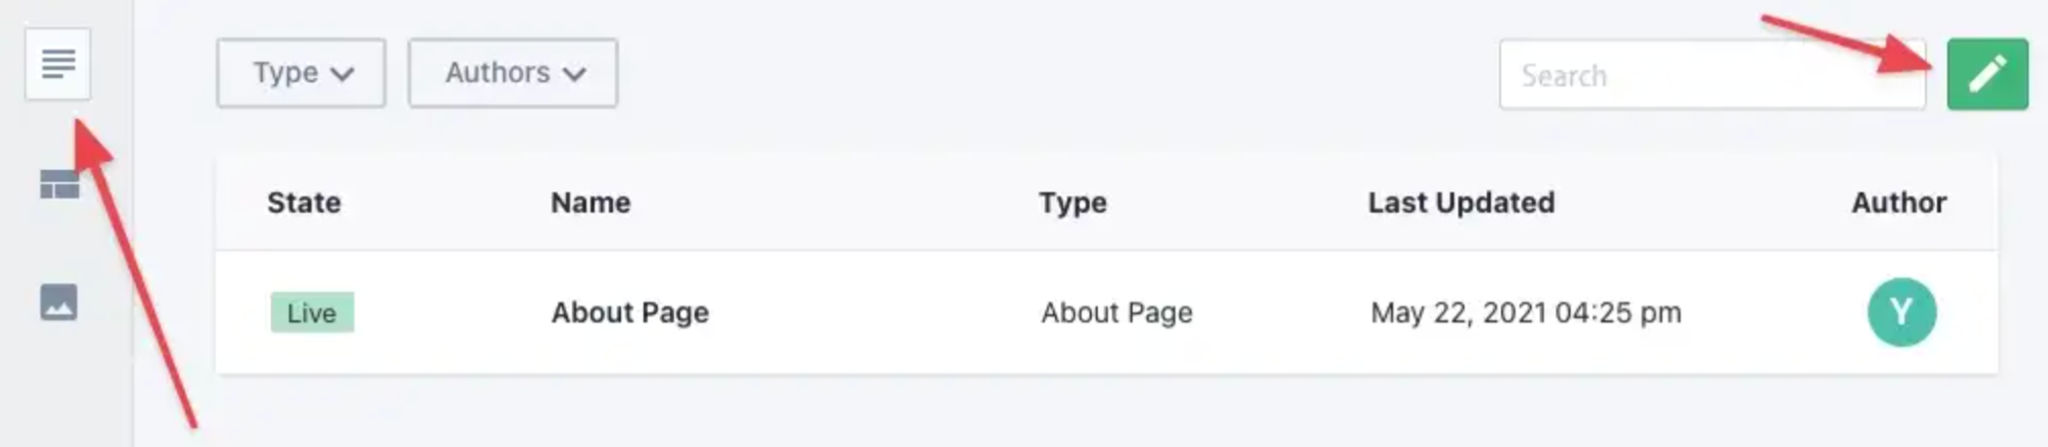
This is how my page content looks like.
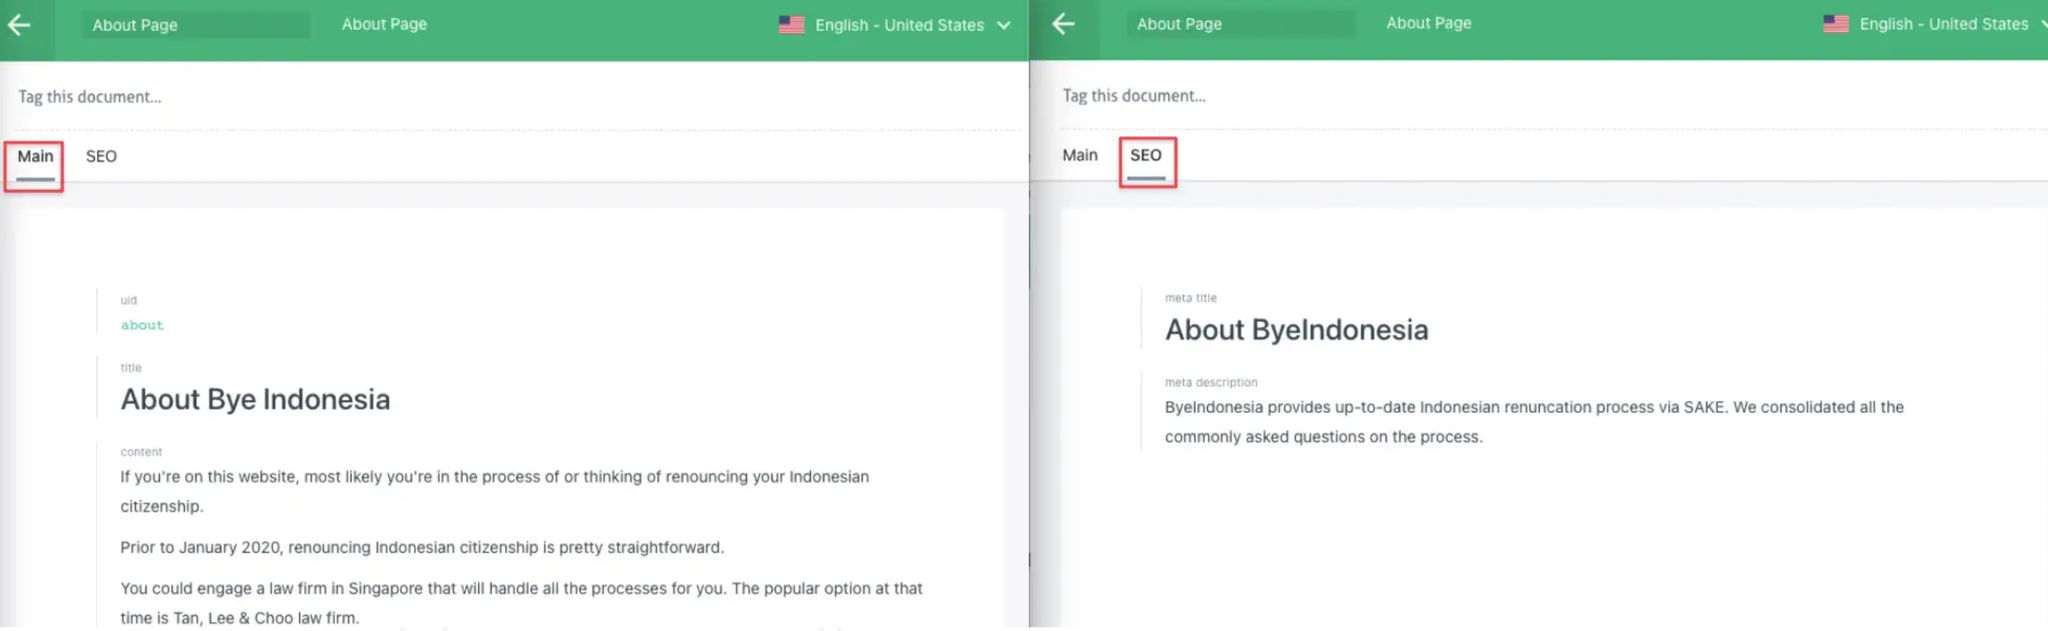
You could see, I use Prismic to store the meta title and meta description for the About Page itself.
With this, I could update it anytime without making changes to the code.
Display Prismic Content on Nuxt App
In Nuxt.js, you could make API call in asyncData method of the page component.
Fetch data with asyncData
<template>
<div>
   <div class="prose dark:prose-invert prose-lg">
      <prismic-rich-text :field="page.content" />
   </div>
</div>
</template>

<script>
export default {
  name: 'AboutPage',
  async asyncData({ $prismic, error }) {
    try {
      const pageContent = (await $prismic.api.getSingle('about_page')).data
      return {
        page: pageContent
      }
    } catch (e) {
      error({ statusCode: 404, message: 'Page not found' })
    }
  },
  data() {
    return {
      page: null
    }
  },
  head() {
    return {
      title: this.$prismic.asText(this.page.meta_title),
      meta: [
        {
          hid: 'description',
          name: 'description',
          content: this.$prismic
            .asText(this.page.meta_description)
            .substring(0, 158)
        }
      ]
    }
  }
}
</script>
The Prismic module we installed earlier exposed Prismic in the Nuxt context accessible in asyncData.
In this example, we instruct Prismic to fetch the content of the About page by calling $prismic.api.getSingle('about_page').
about_page is the API ID of the custom type created earlier.
On your page template, simply use Prismic’s Rich Text editor component to load the data:
Displaying Prismic data
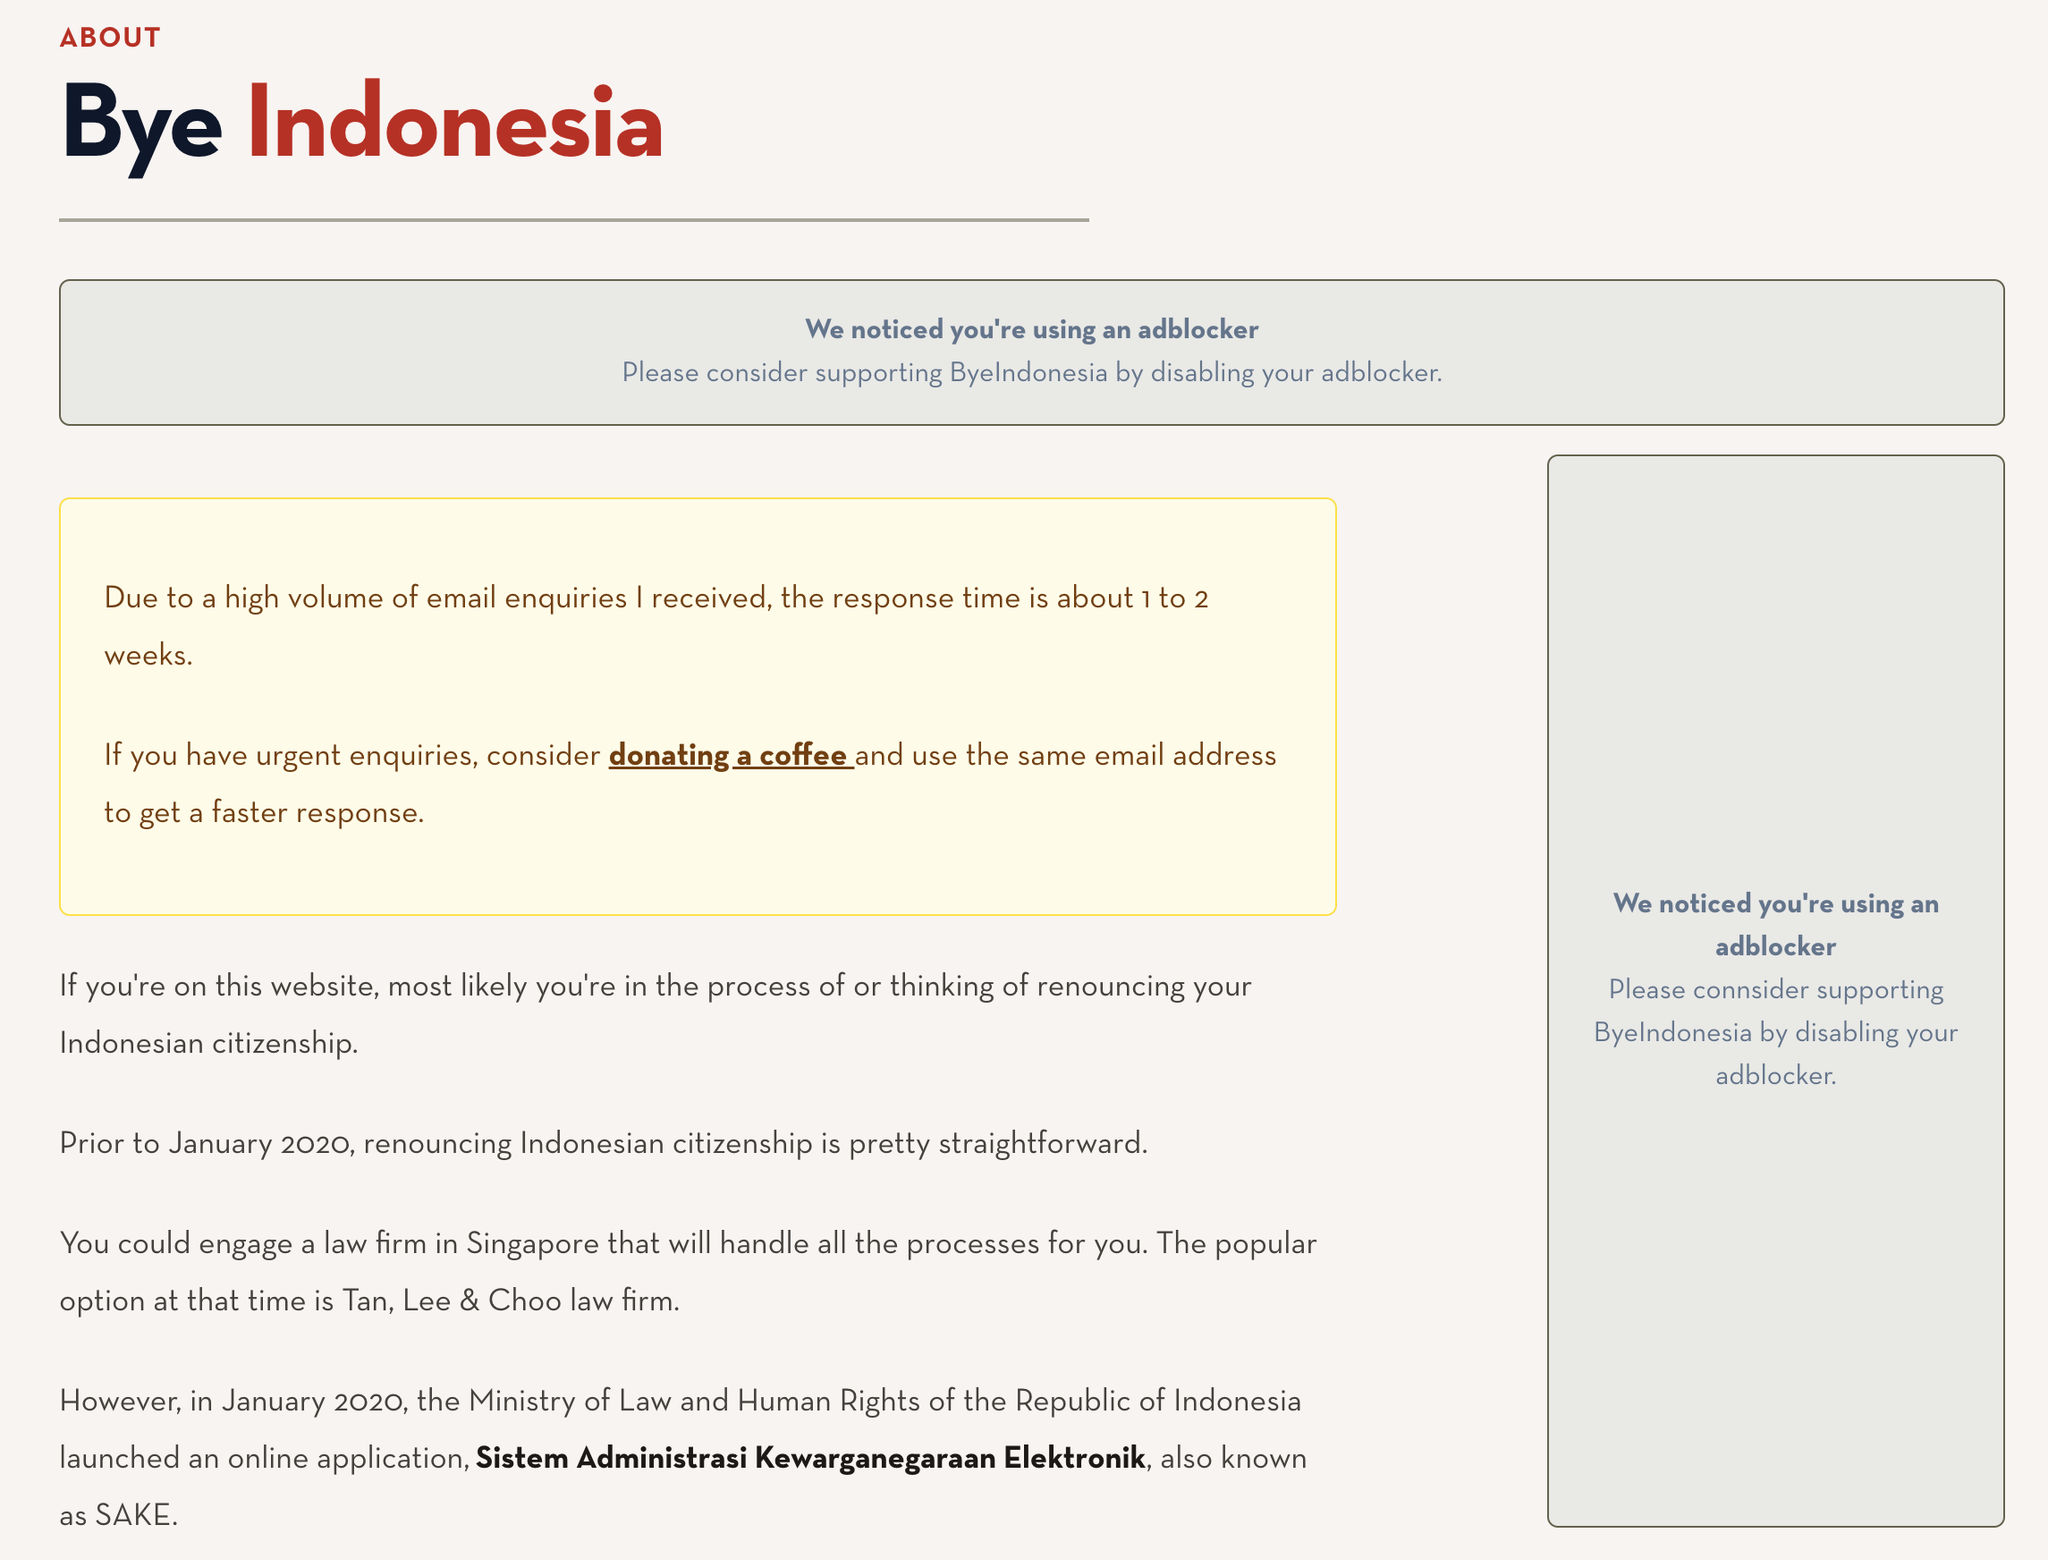
<prismic-rich-text :field="page.content" />Now, run your Nuxt app on your local to see how the page looks like.
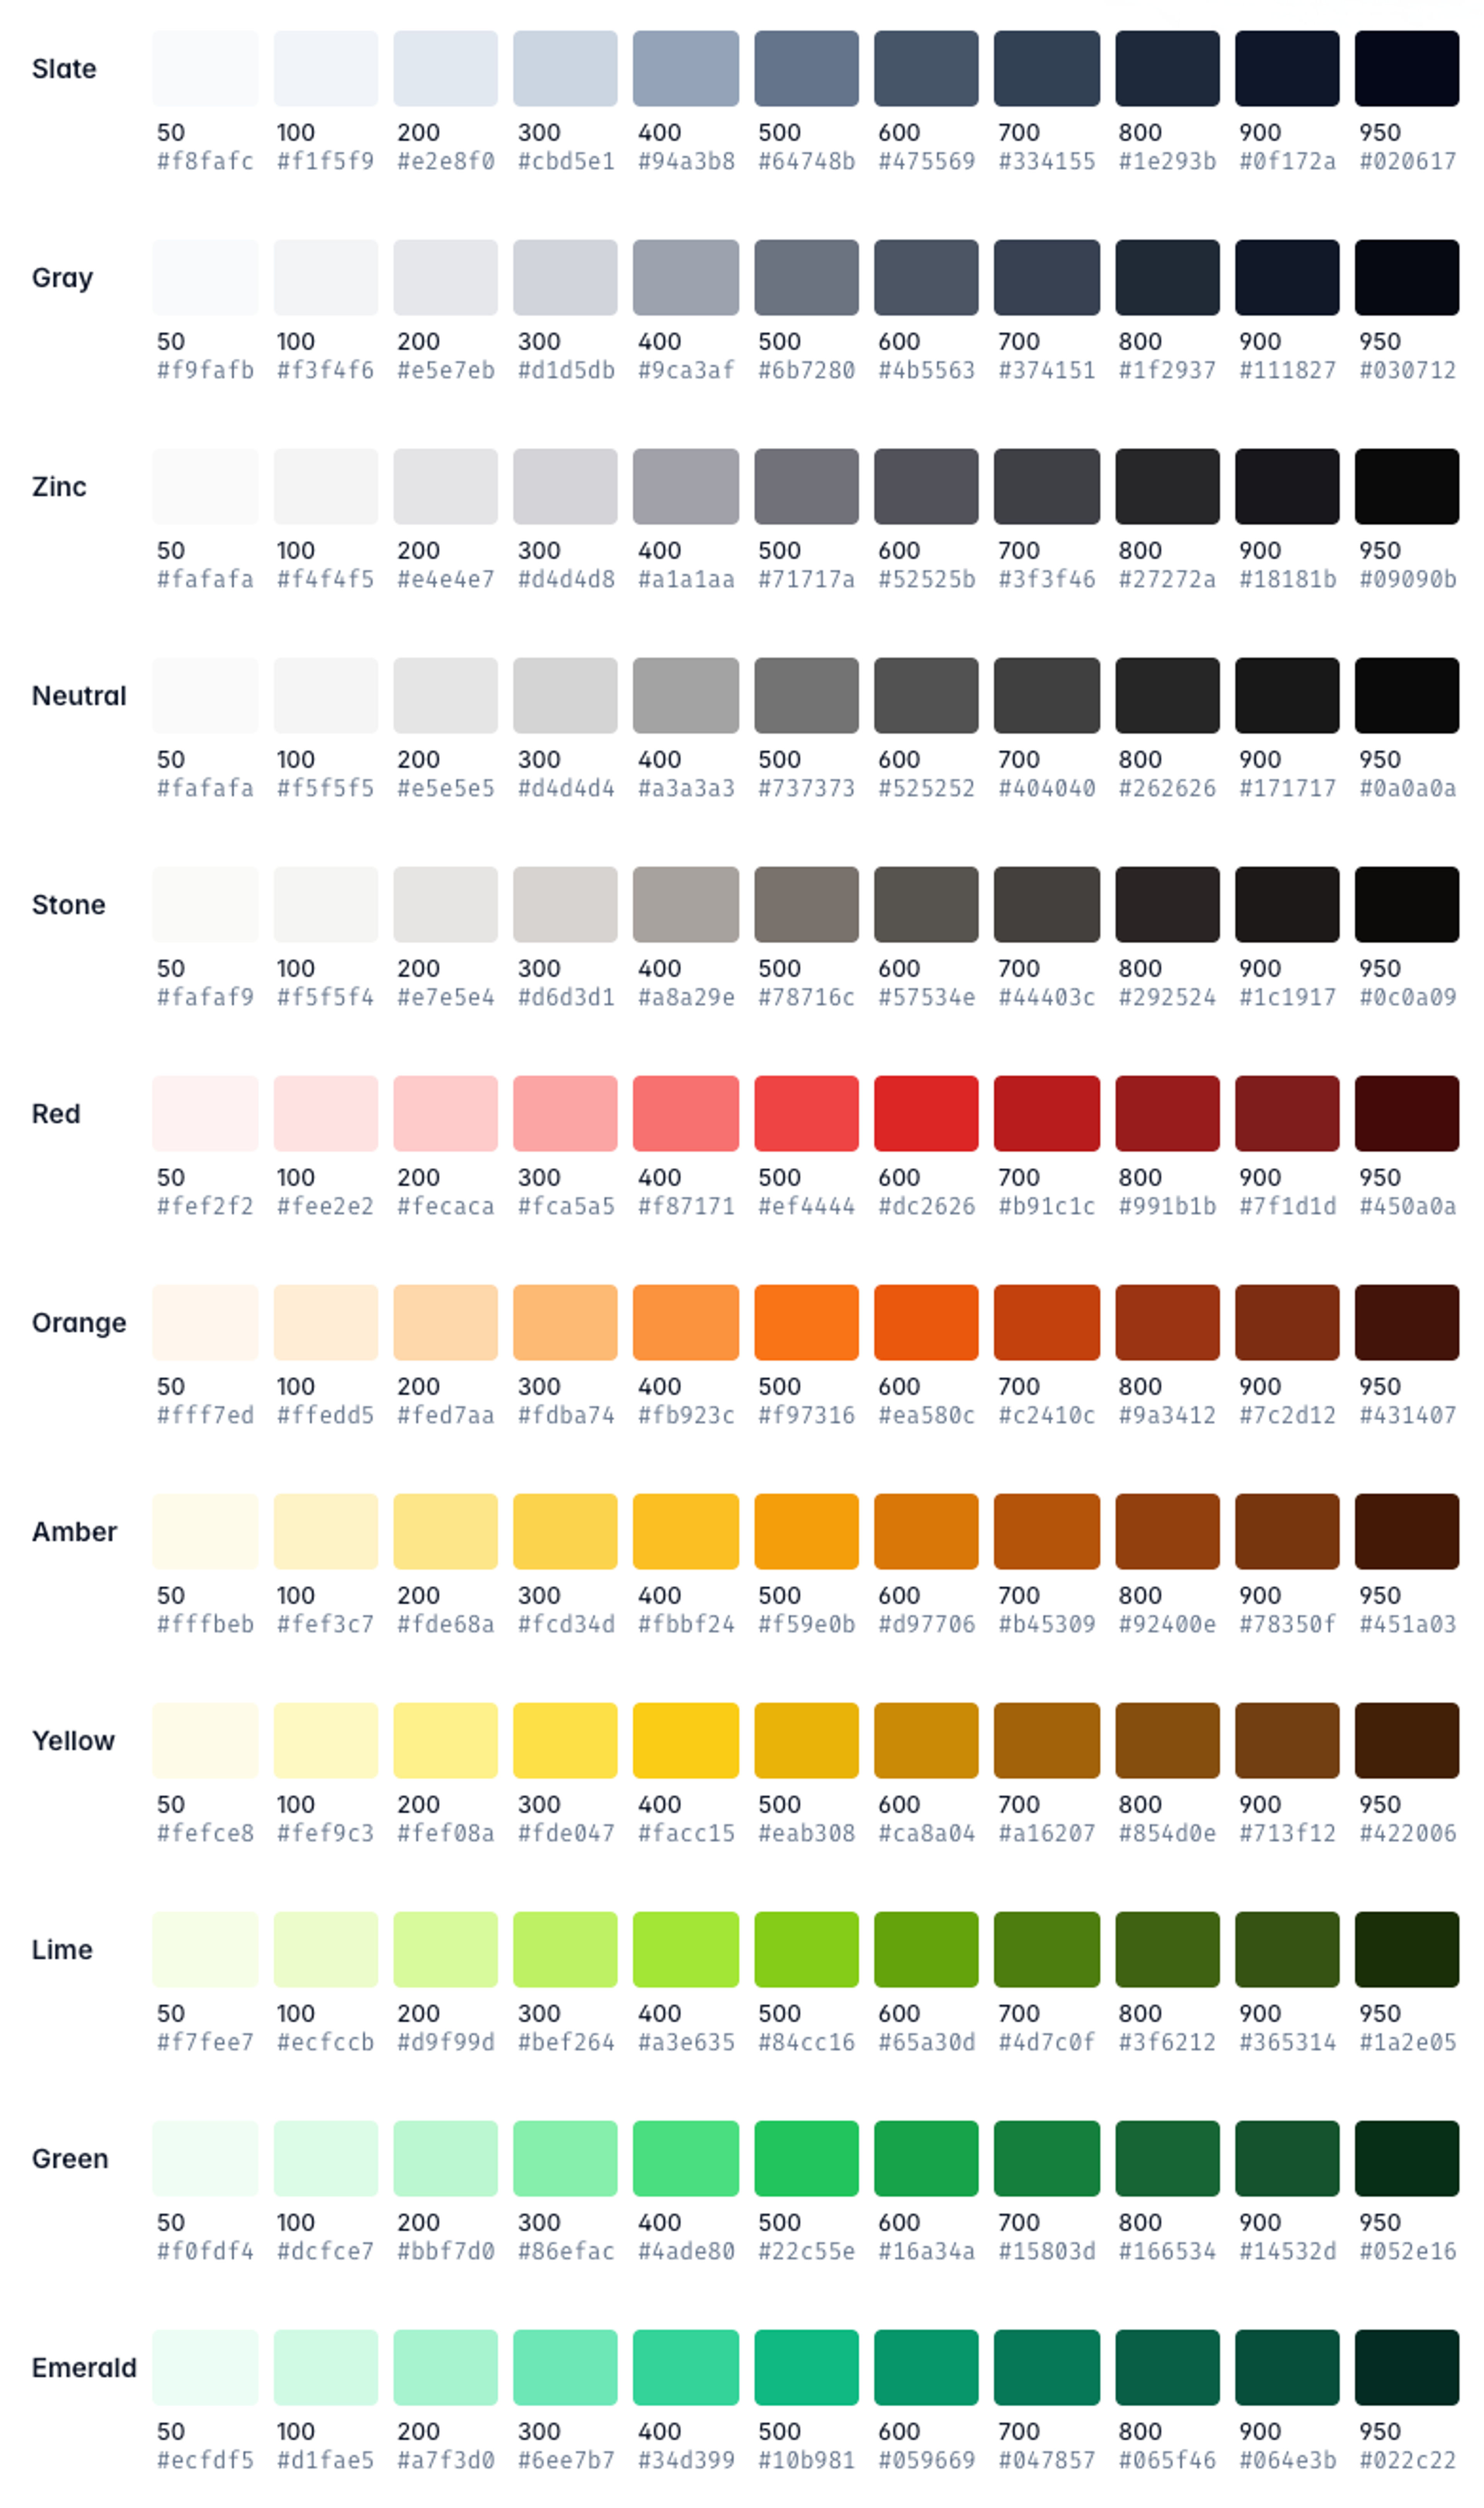
Combined with TailwindCSS typography, you’ll get a nice-looking content page.
That’s all for now!
In the next tutorial, we’ll deploy your Nuxt app on Netlify and set up a webhook to automate the build time.
If you found this tutorial useful, don’t forget to share.