Google Search Console is a powerful tool that allows website owners to monitor and optimize their site's performance in Google search results.
By setting up your websites in Google Search Console, you can gain valuable insights into how your site is performing and make better data-driven decisions to improve its visibility, traffic and rankings. You could also discover any page indexing issues that prevent your pages from getting indexed.
In this step-by-step guide, we will walk you through the process of setting up Google Search Console and getting started with its features.
What is Google Search Console?
Google Search Console, formerly known as Google Webmaster Tools, is a free service provided by Google that provides valuable data and insights about your site's visibility and indexing status that help website owners understand how their site is performing in search results.
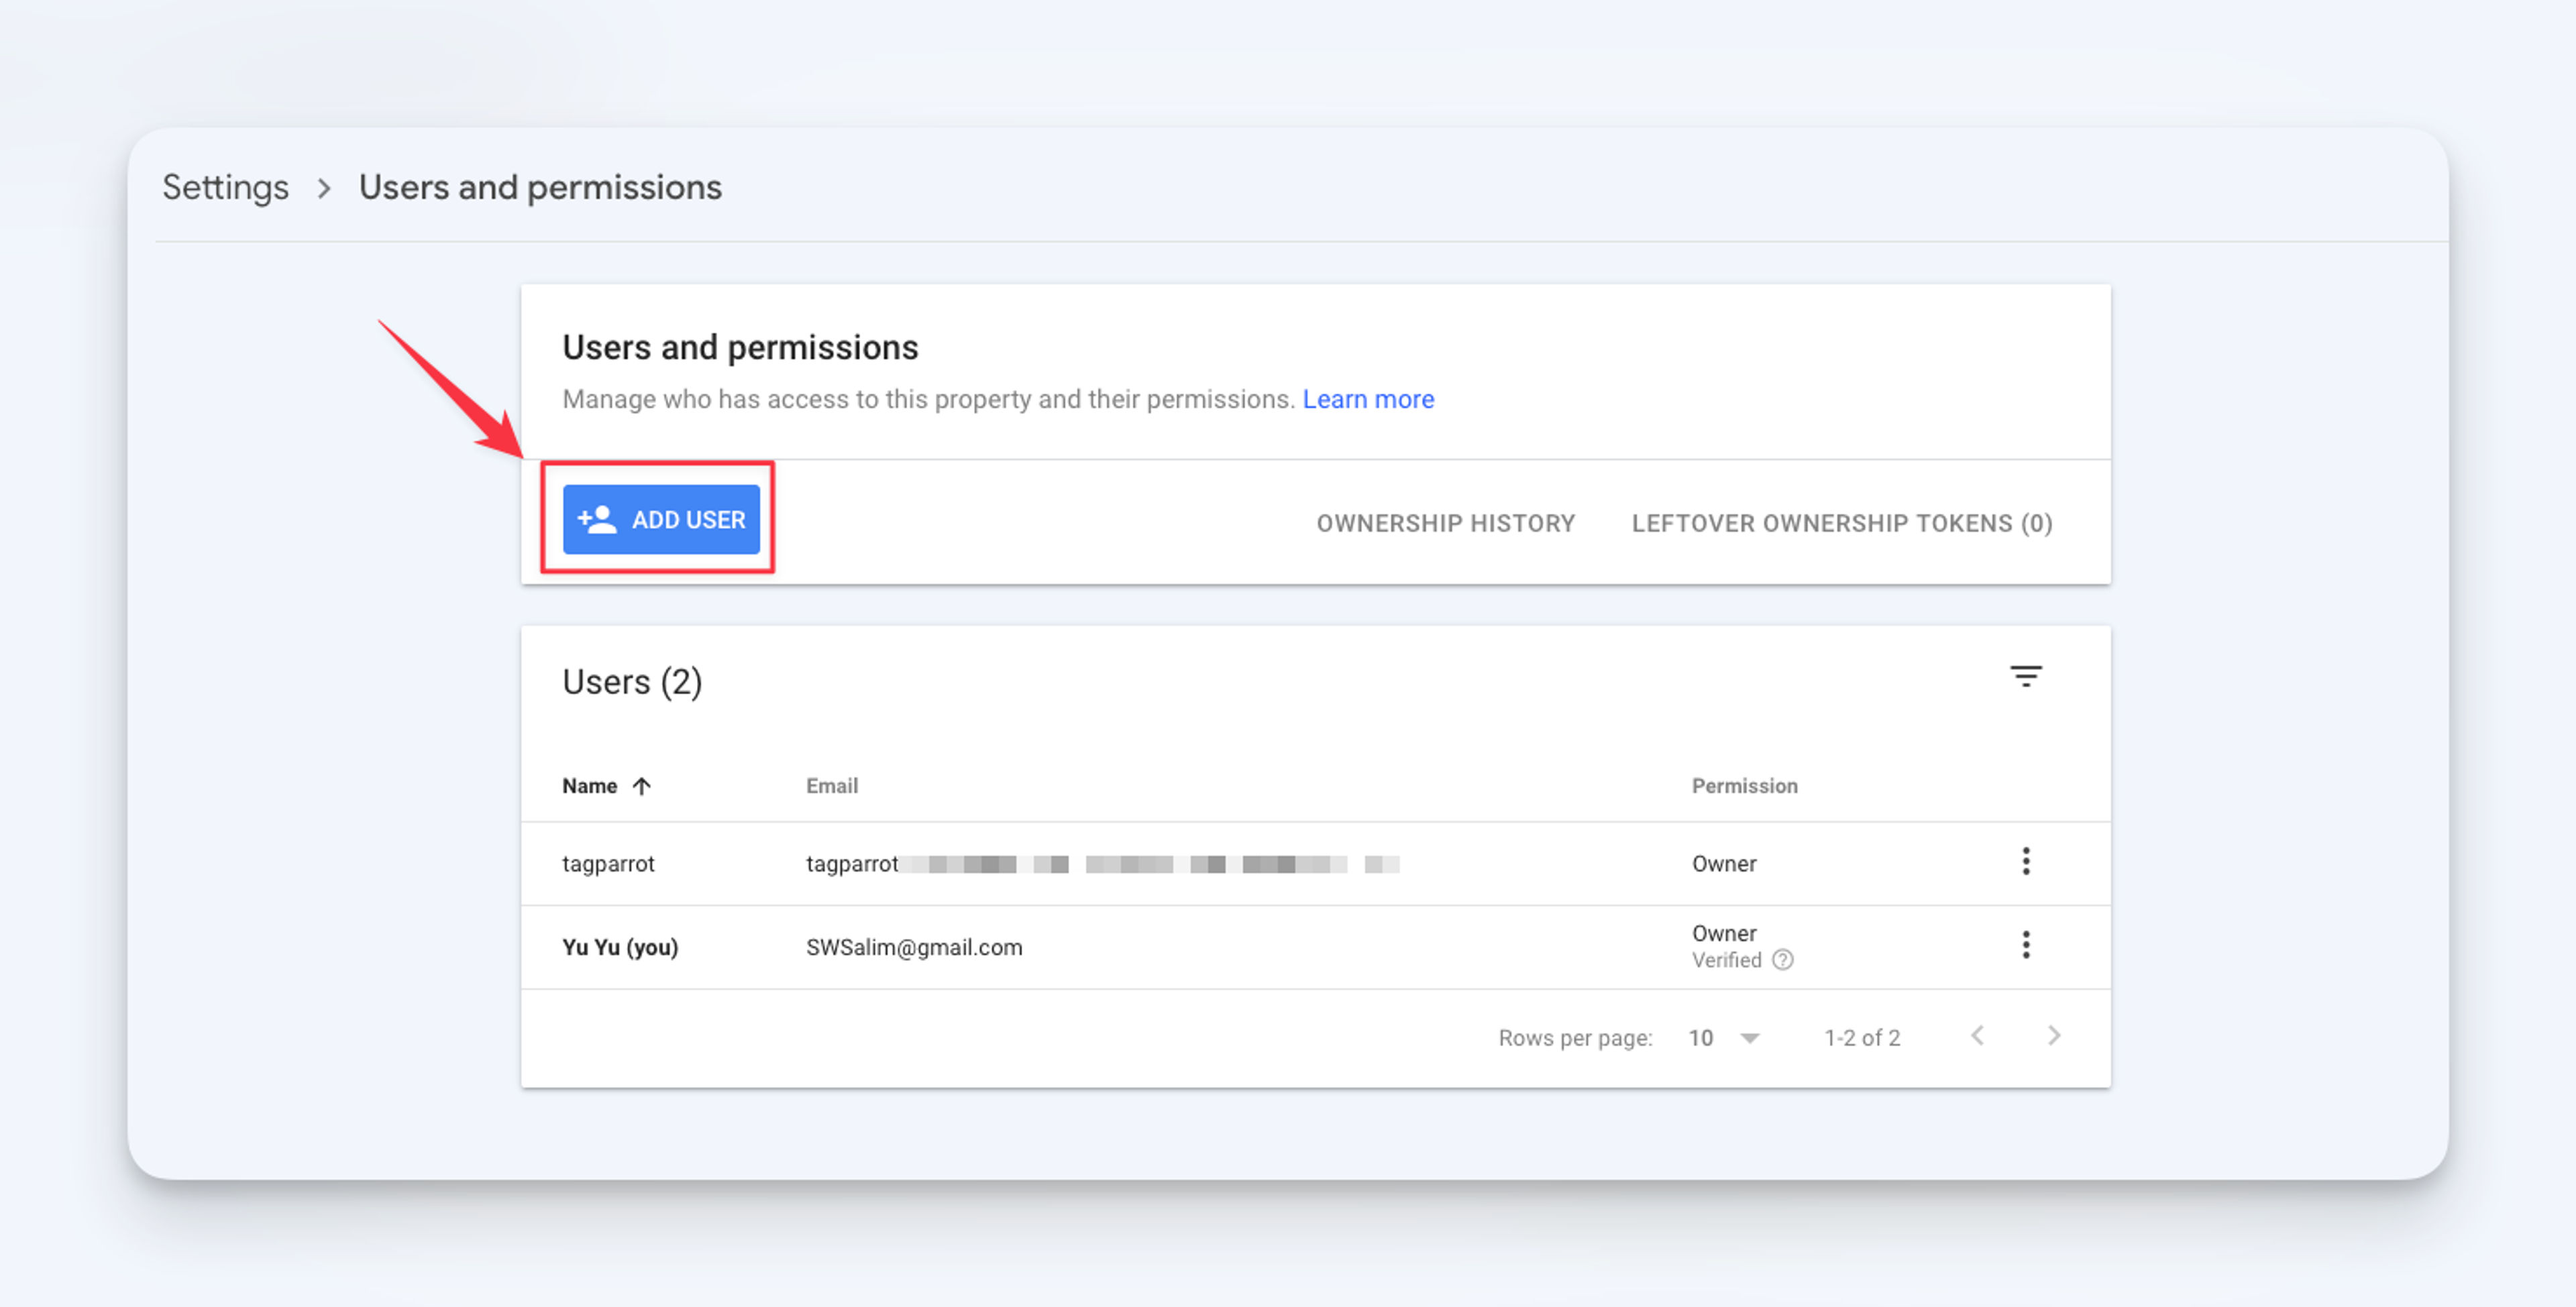
You could also add users to your Google Search Console property which is useful if you would like to grant access to an SEO agency.
With Google Search Console, you can inspect pages on your site for any indexing issues and submit any new content for indexing.
Creating a Google Search Console Account
To start using Google Search Console, you will need to create a Google account if you don't already have one.
Once you have a Google account, go to the Google Search Console homepage and sign in using your Google account credentials.
If you are already signed in to your Google account, you will be taken directly to the Google Search Console dashboard.
Adding Your Website
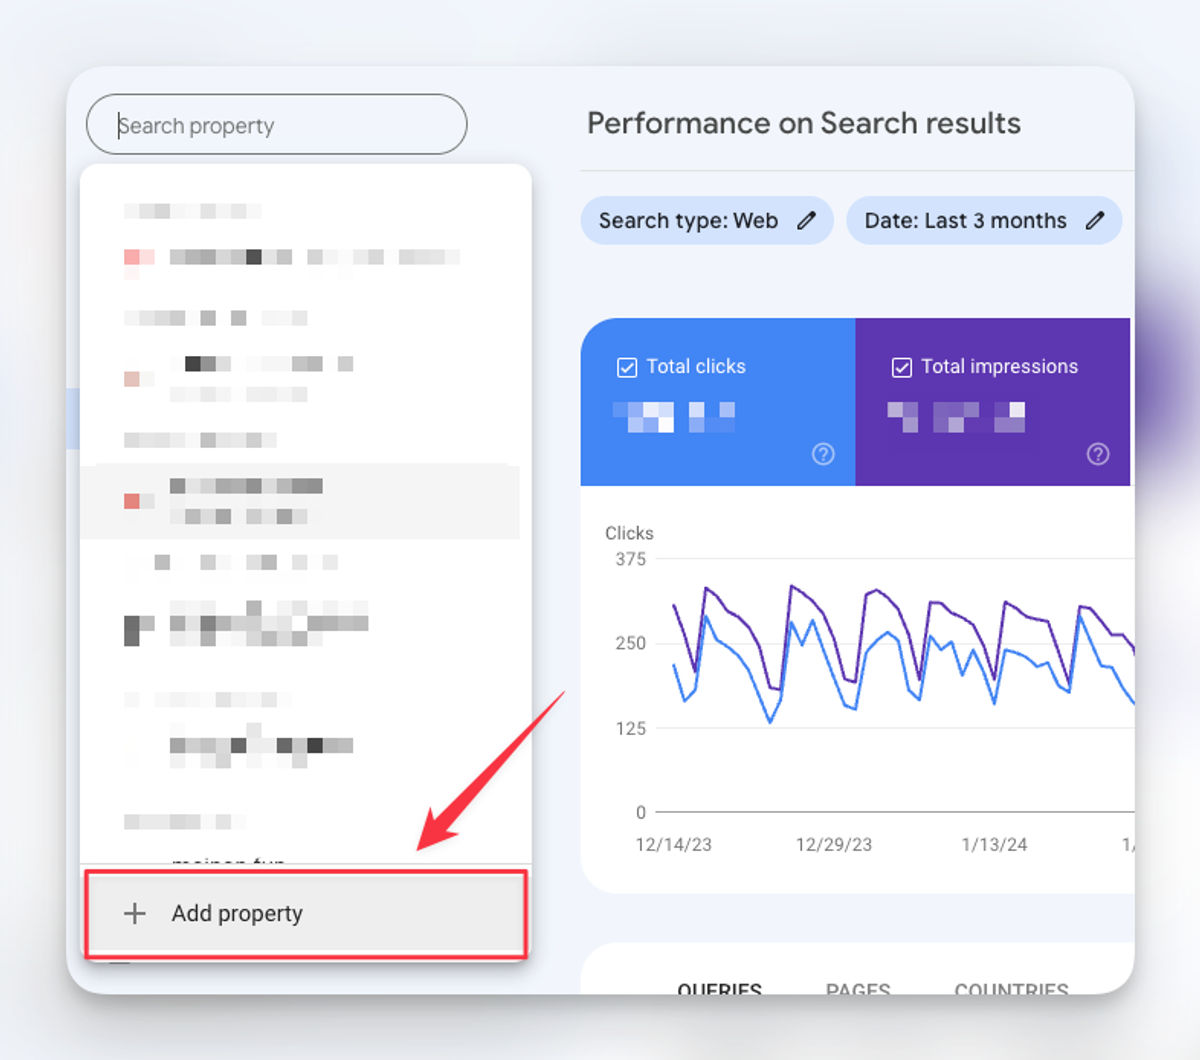
To add your website, first click on the "Search property" field on the top left corner and click "+ Add property".
You could add your website by adding a domain or a URL prefix.
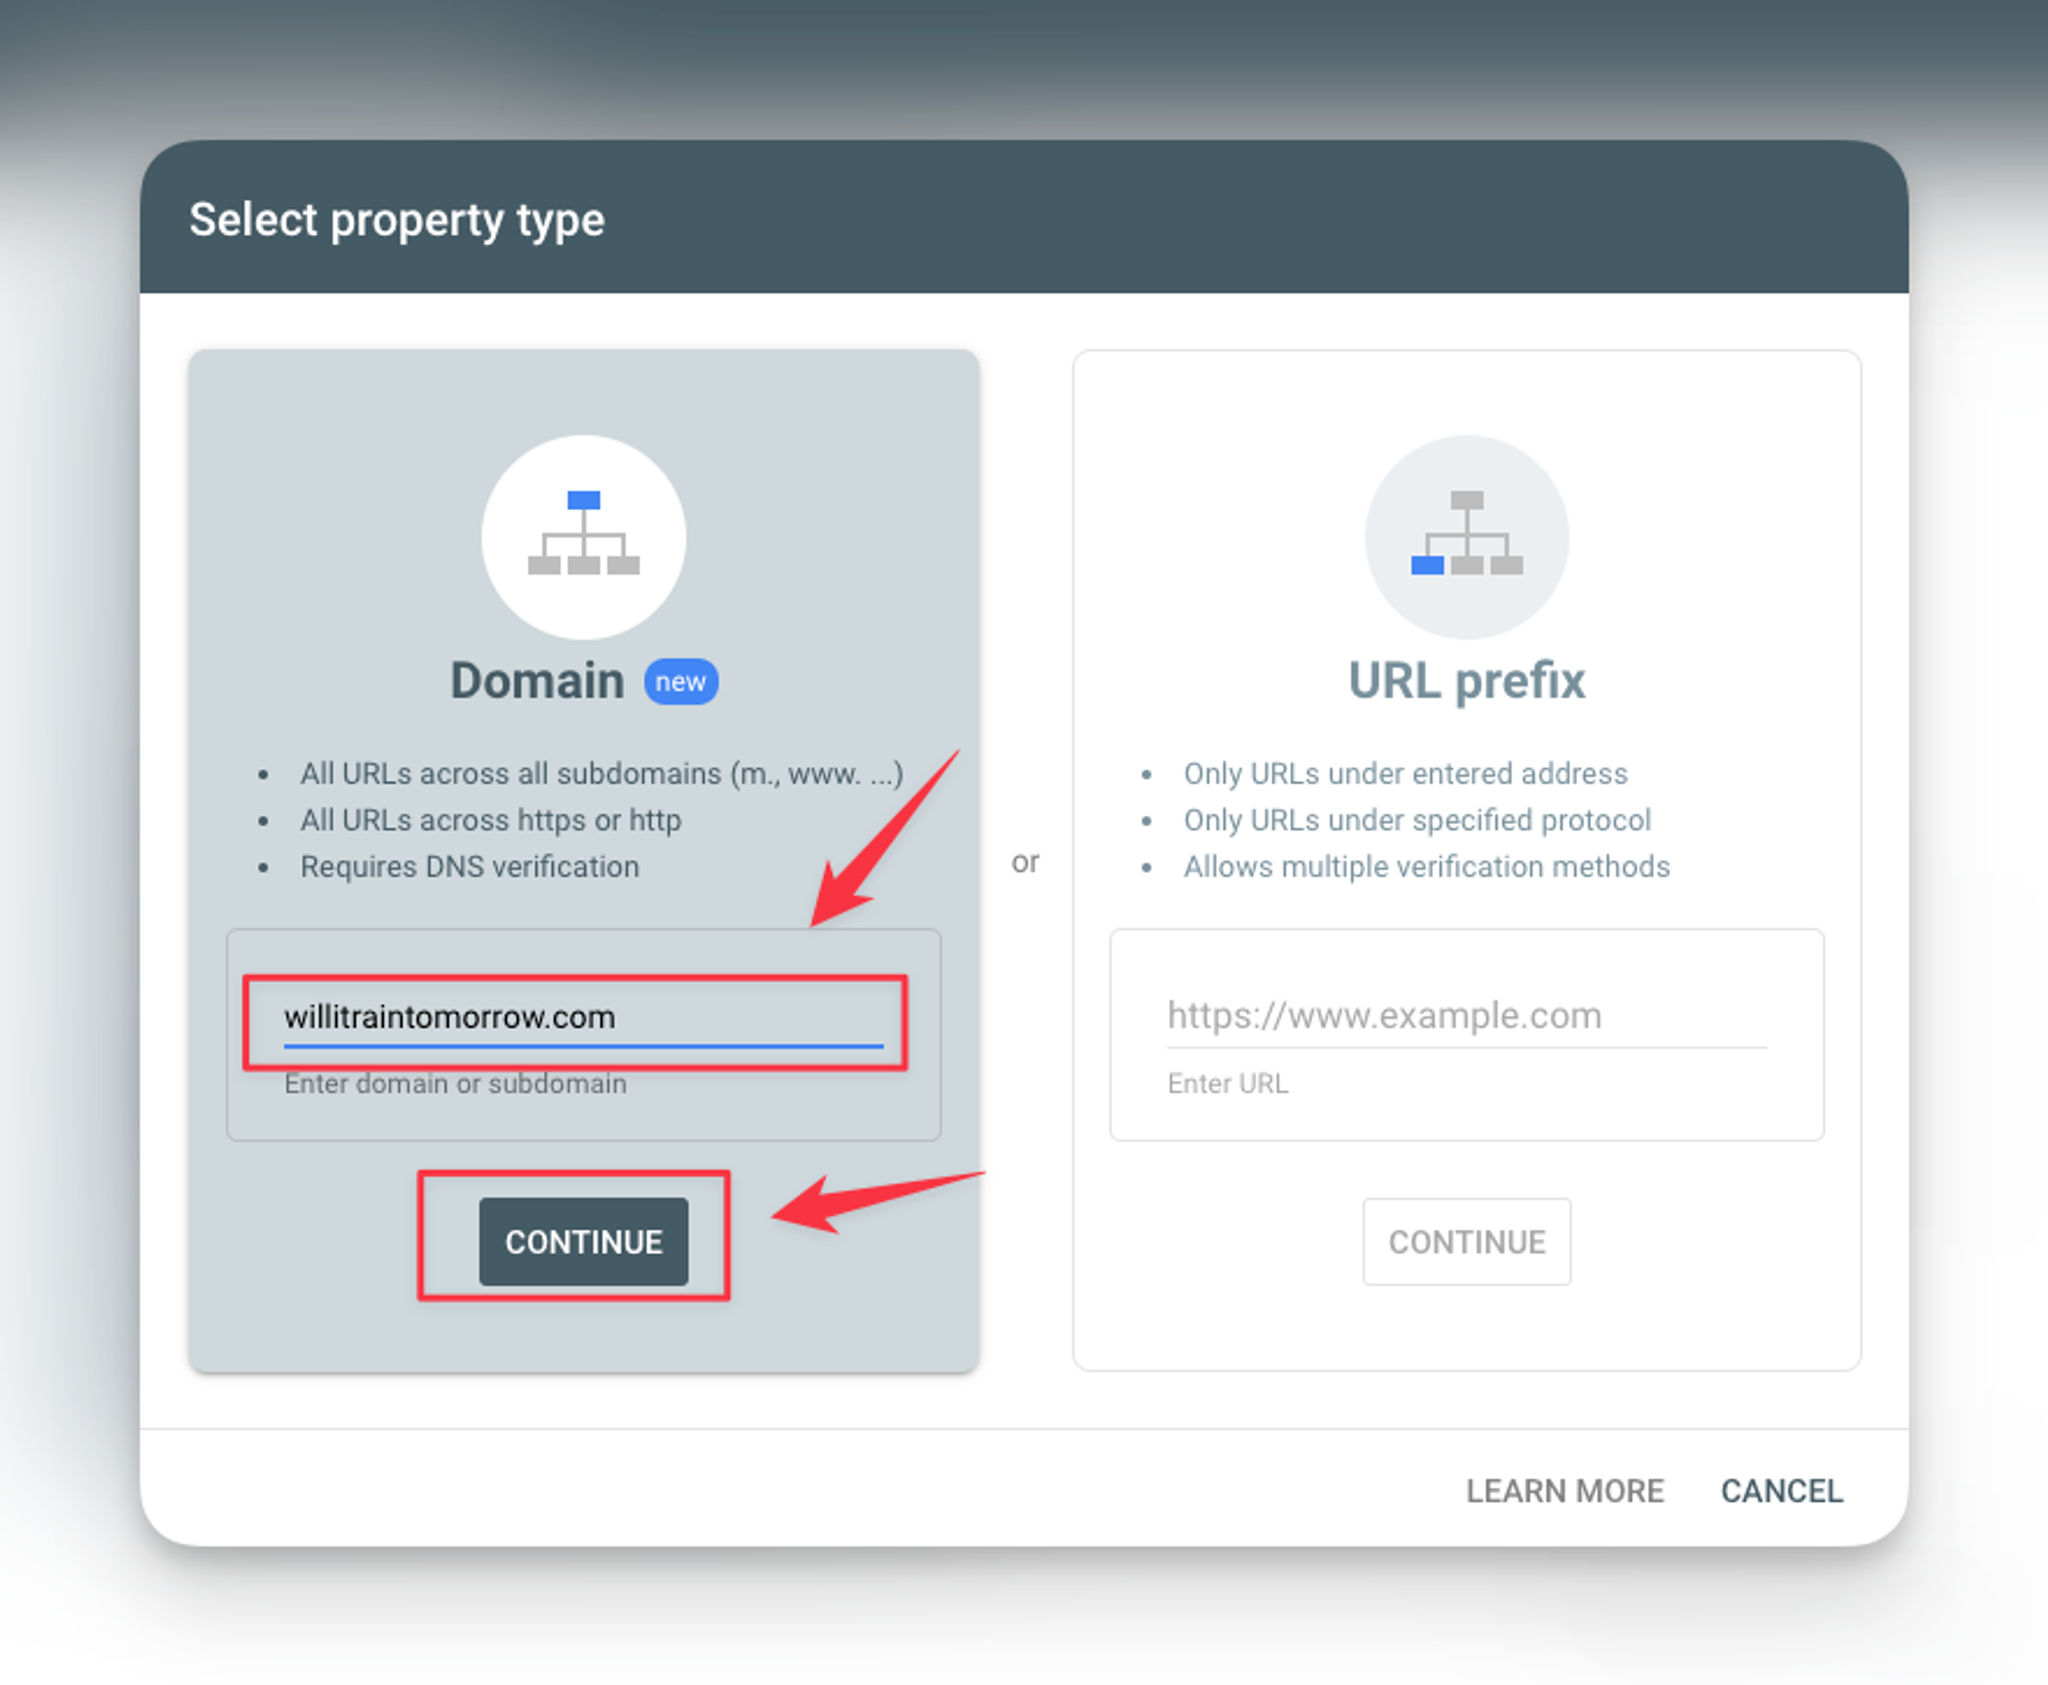
Add a Domain Property
Adding a domain property is the new and preferred approach for adding a website to Google Search Console.
By adding a domain property, you'll get a complete overview of your website information including all the different subdomains (e.g m., www., ...) across both https and http protocols.
Simply enter your domain without any URL prefixes (http or https) and www.
In this example, my website URL is https://www.willitraintomorrow.com so I'll enter willitraintomorrow.com and click the "CONTINUE" button.
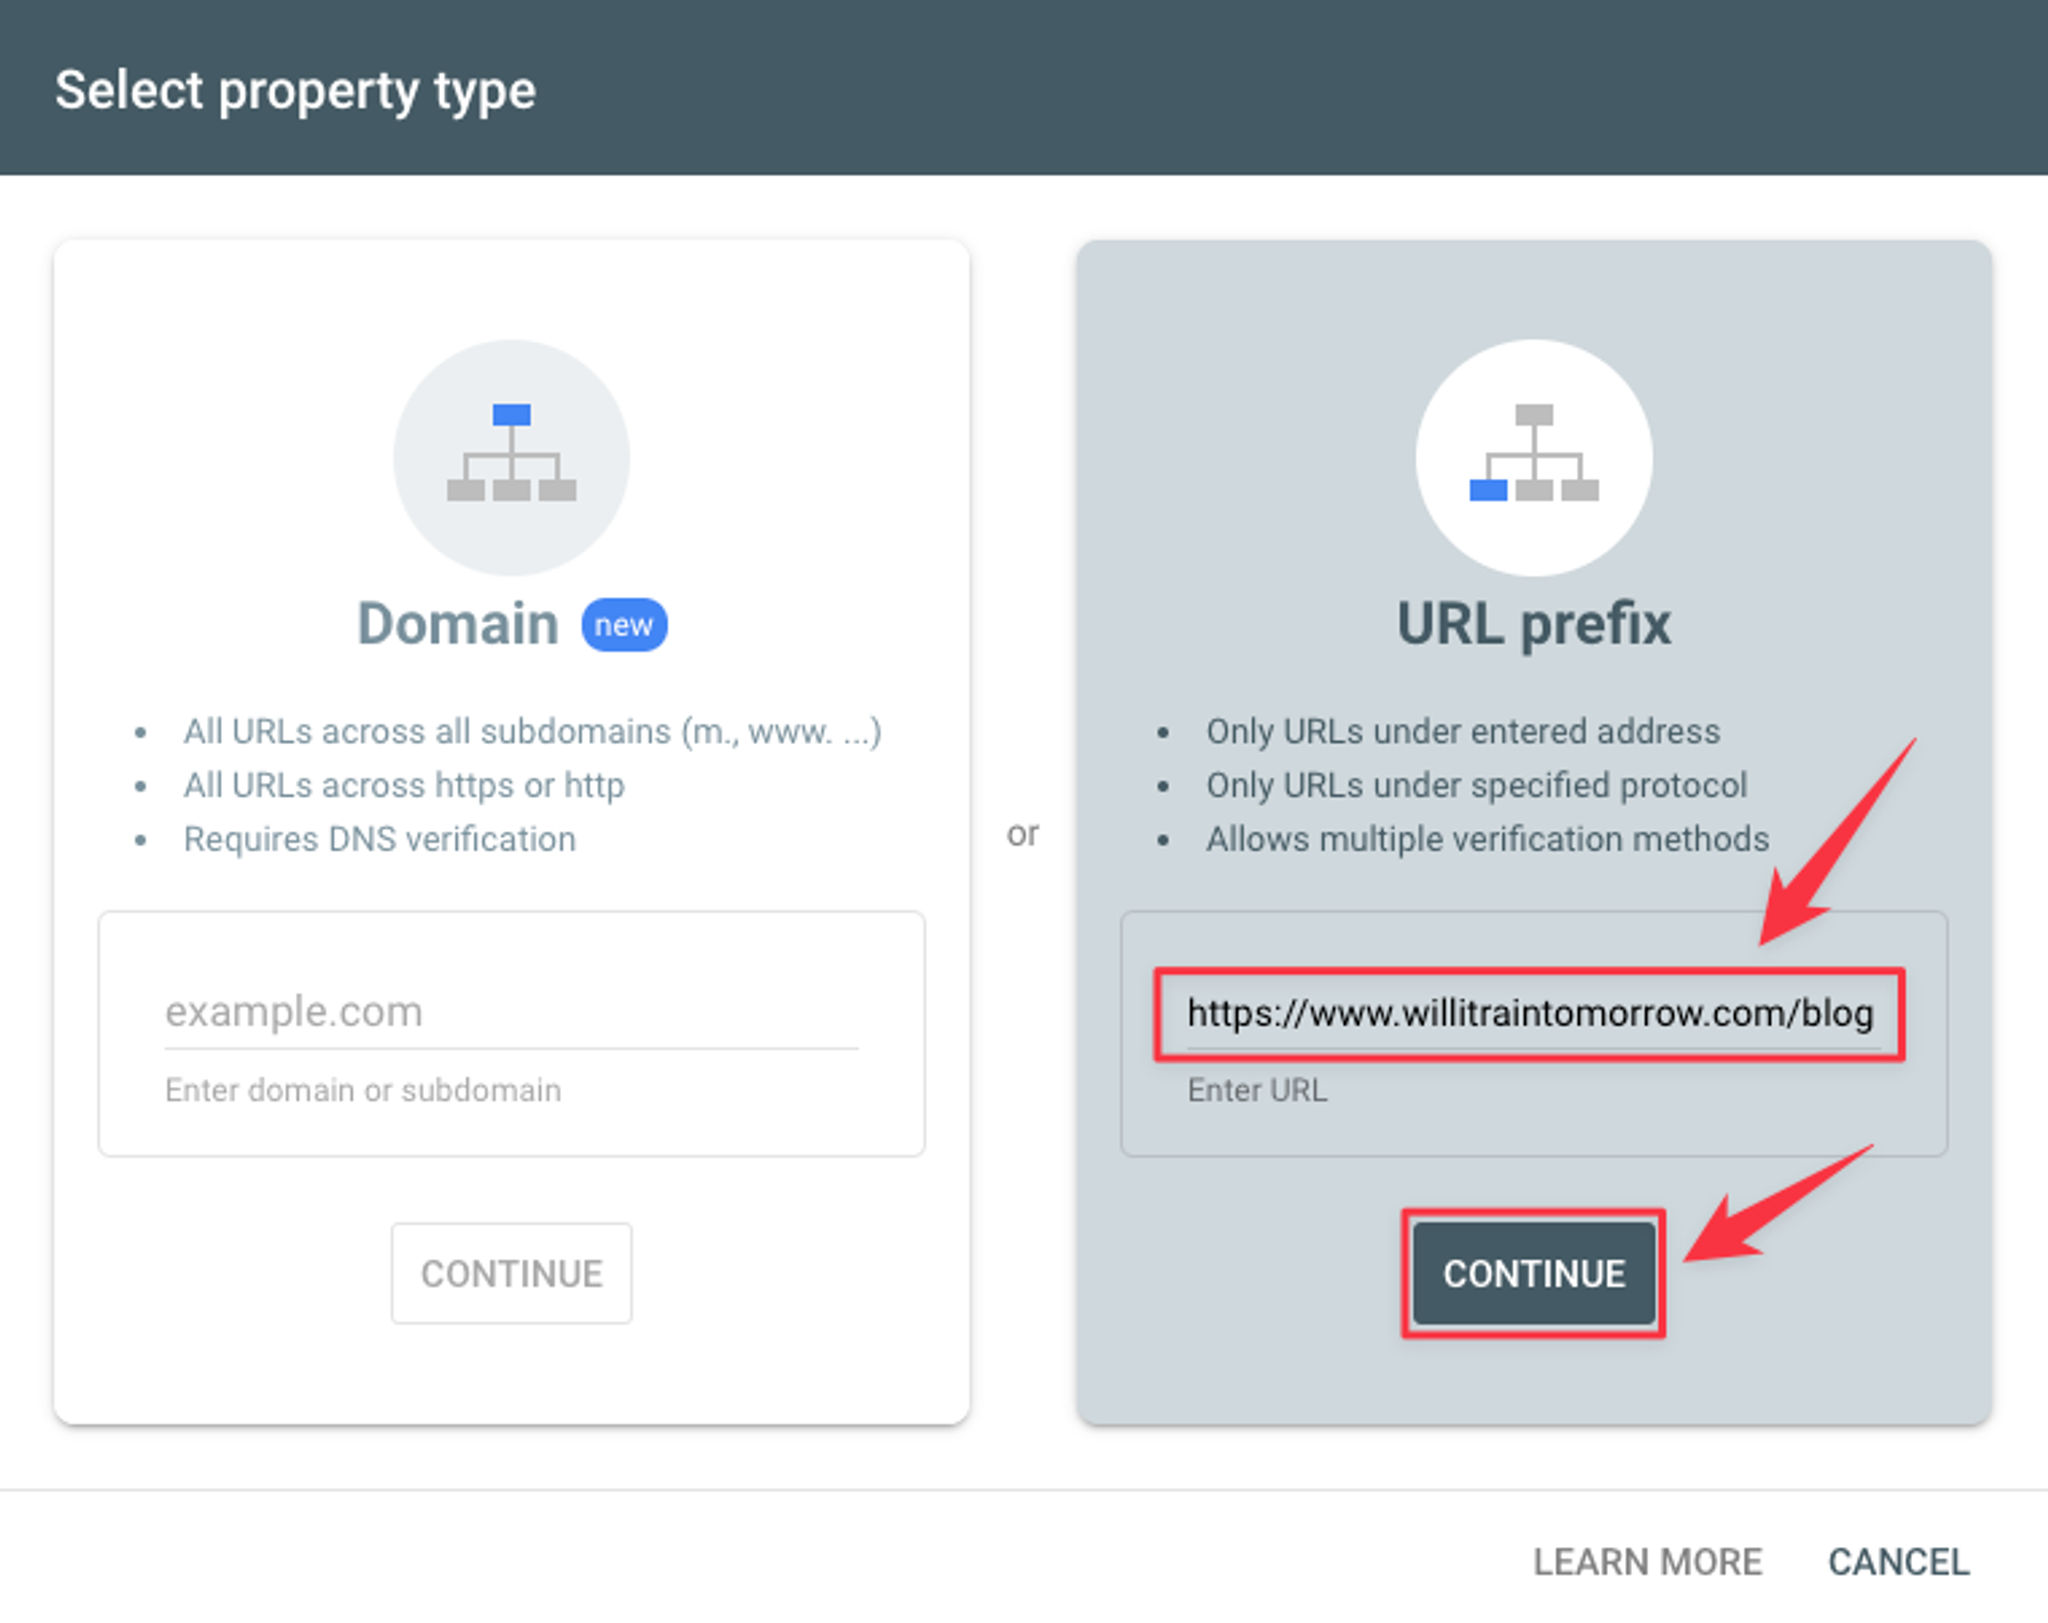
Add a URL Prefix Property
This option requires you to enter the exact URL of your website including the protocol (http or https).
By adding your website using a URL prefix, you're telling Google Search Console that you only want to view data for specific parts of your website like a blog section for example.
You also need to be careful with the protocols for your website as Google Search Console will treat http and https differently.
Google Search Console will see all these URL prefixes as separate properties and you have to manually add it for each URL prefix you want to track.
- http://www.willitraintomorow.com/blog
- https://www.willitraintomorrow.com/blog
- http://willitraintomorrow.com/blog
- https://willitraintomorrow.com/blog
If you have a subdomain for your website such as https://m.willitraintomorrow, you have to add it again.
Verify Your Website Ownership
Verification is a crucial step to prove to Google that you own the website you're trying to add.
Depending on your property type choice, you'll be given a few methods to verify ownership.
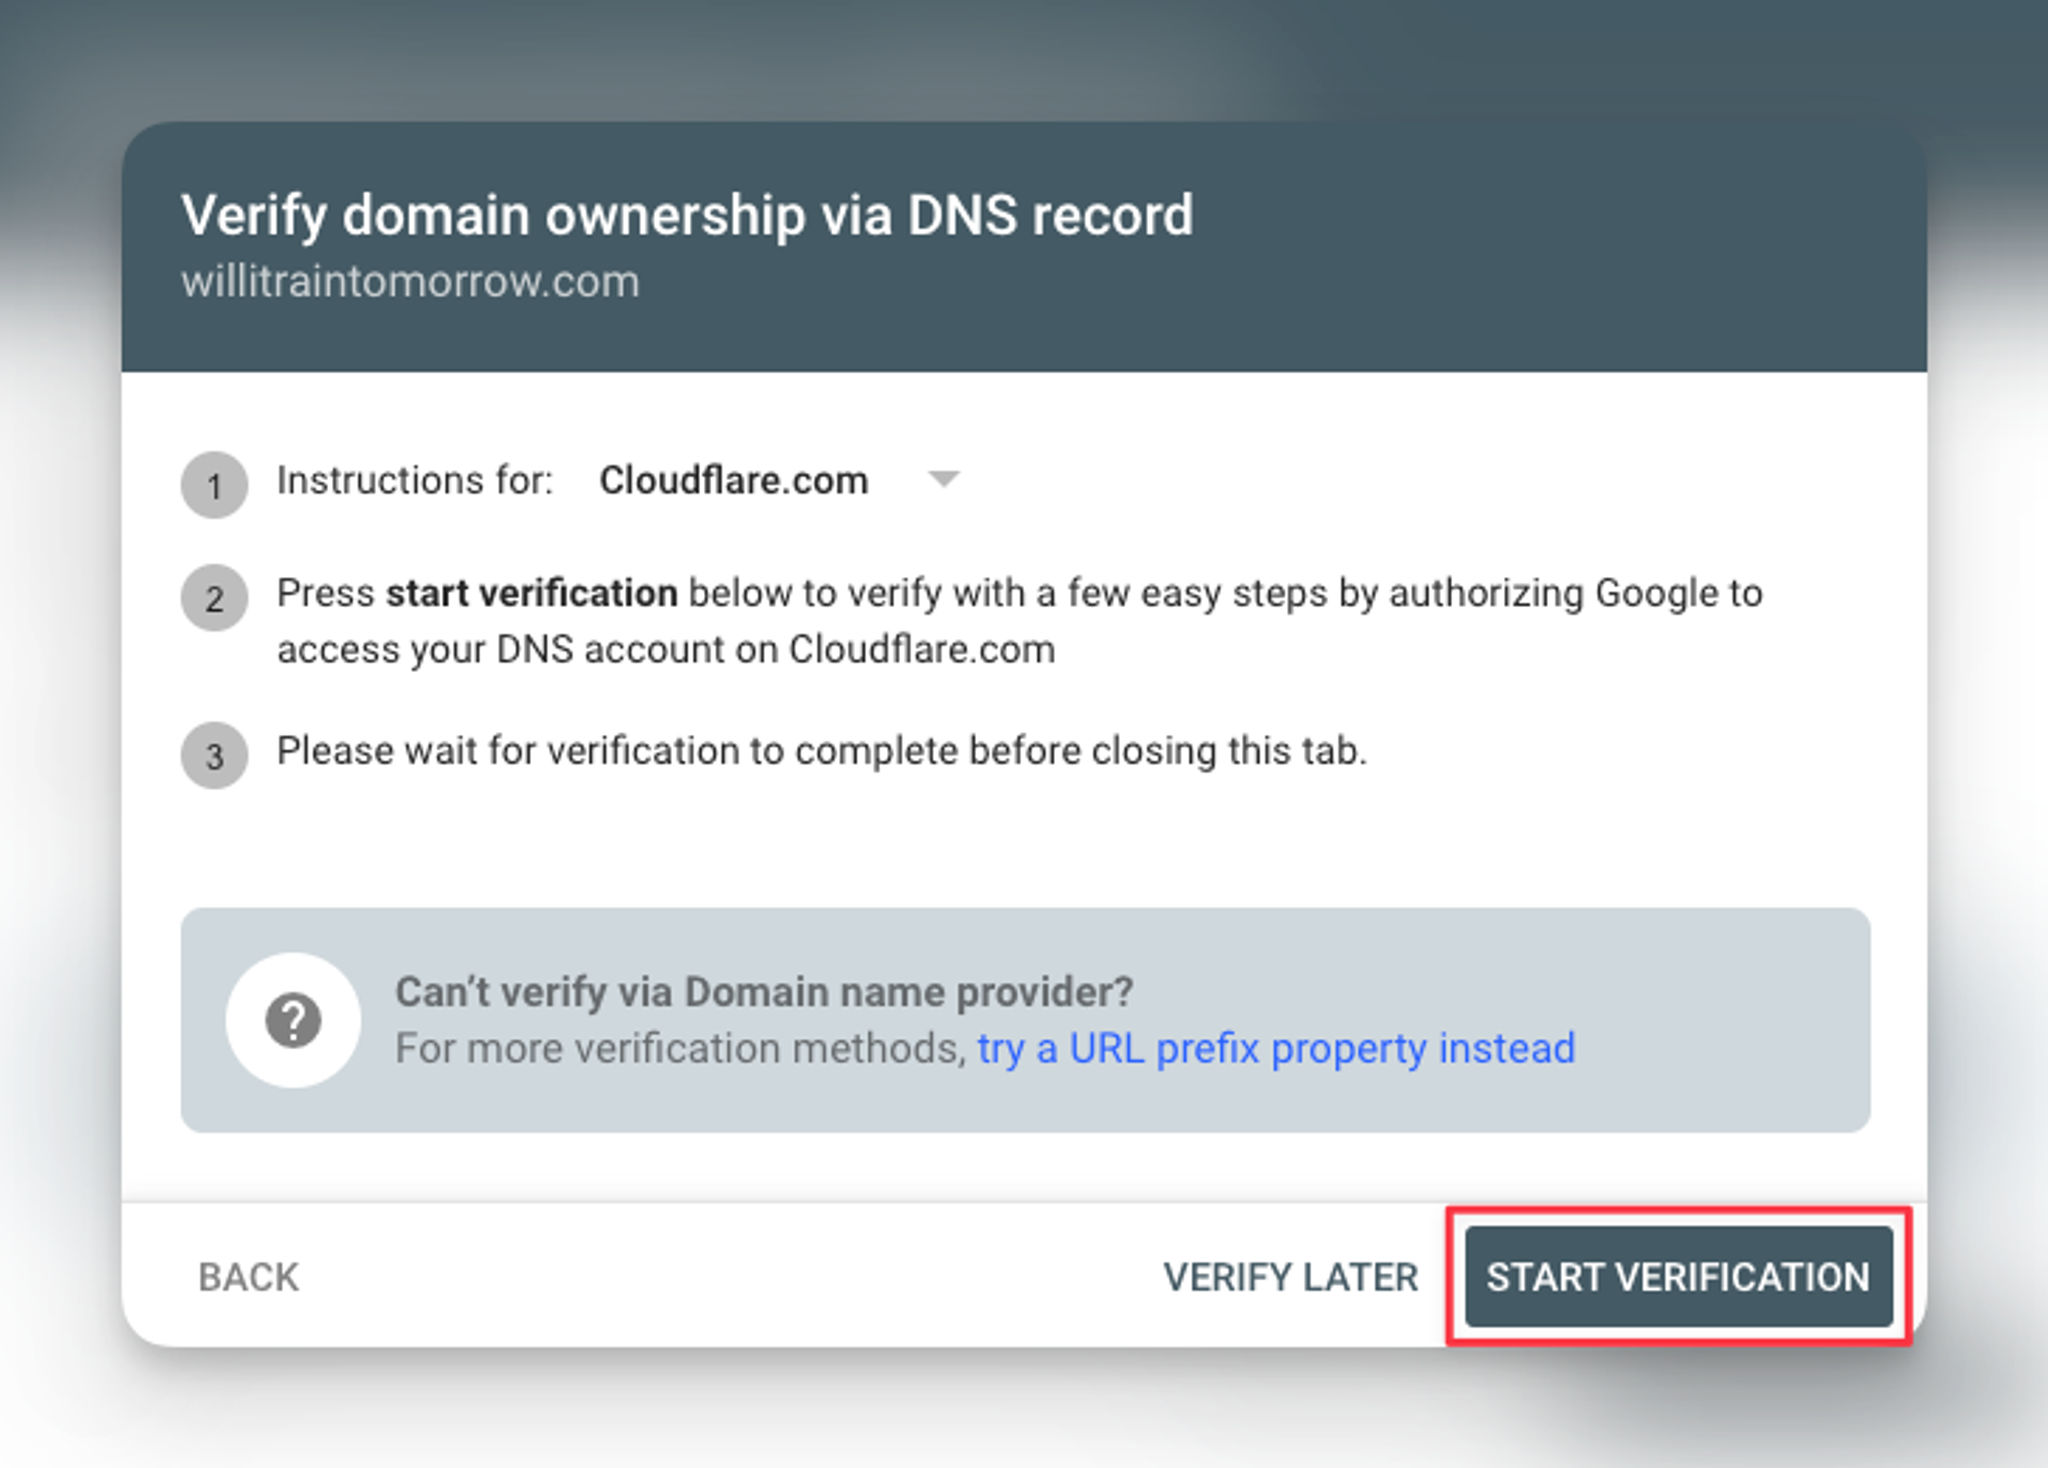
Verify a Domain Property
When you add a domain property, there's only one way to verify your domain ownership through a DNS record.
If your domain provider is Cloudflare, you could simply click on the "START VERIFICATION" button.
You'll be prompted to authorize Google to access your DNS account on Cloudflare.com and add a TXT record required for verification.
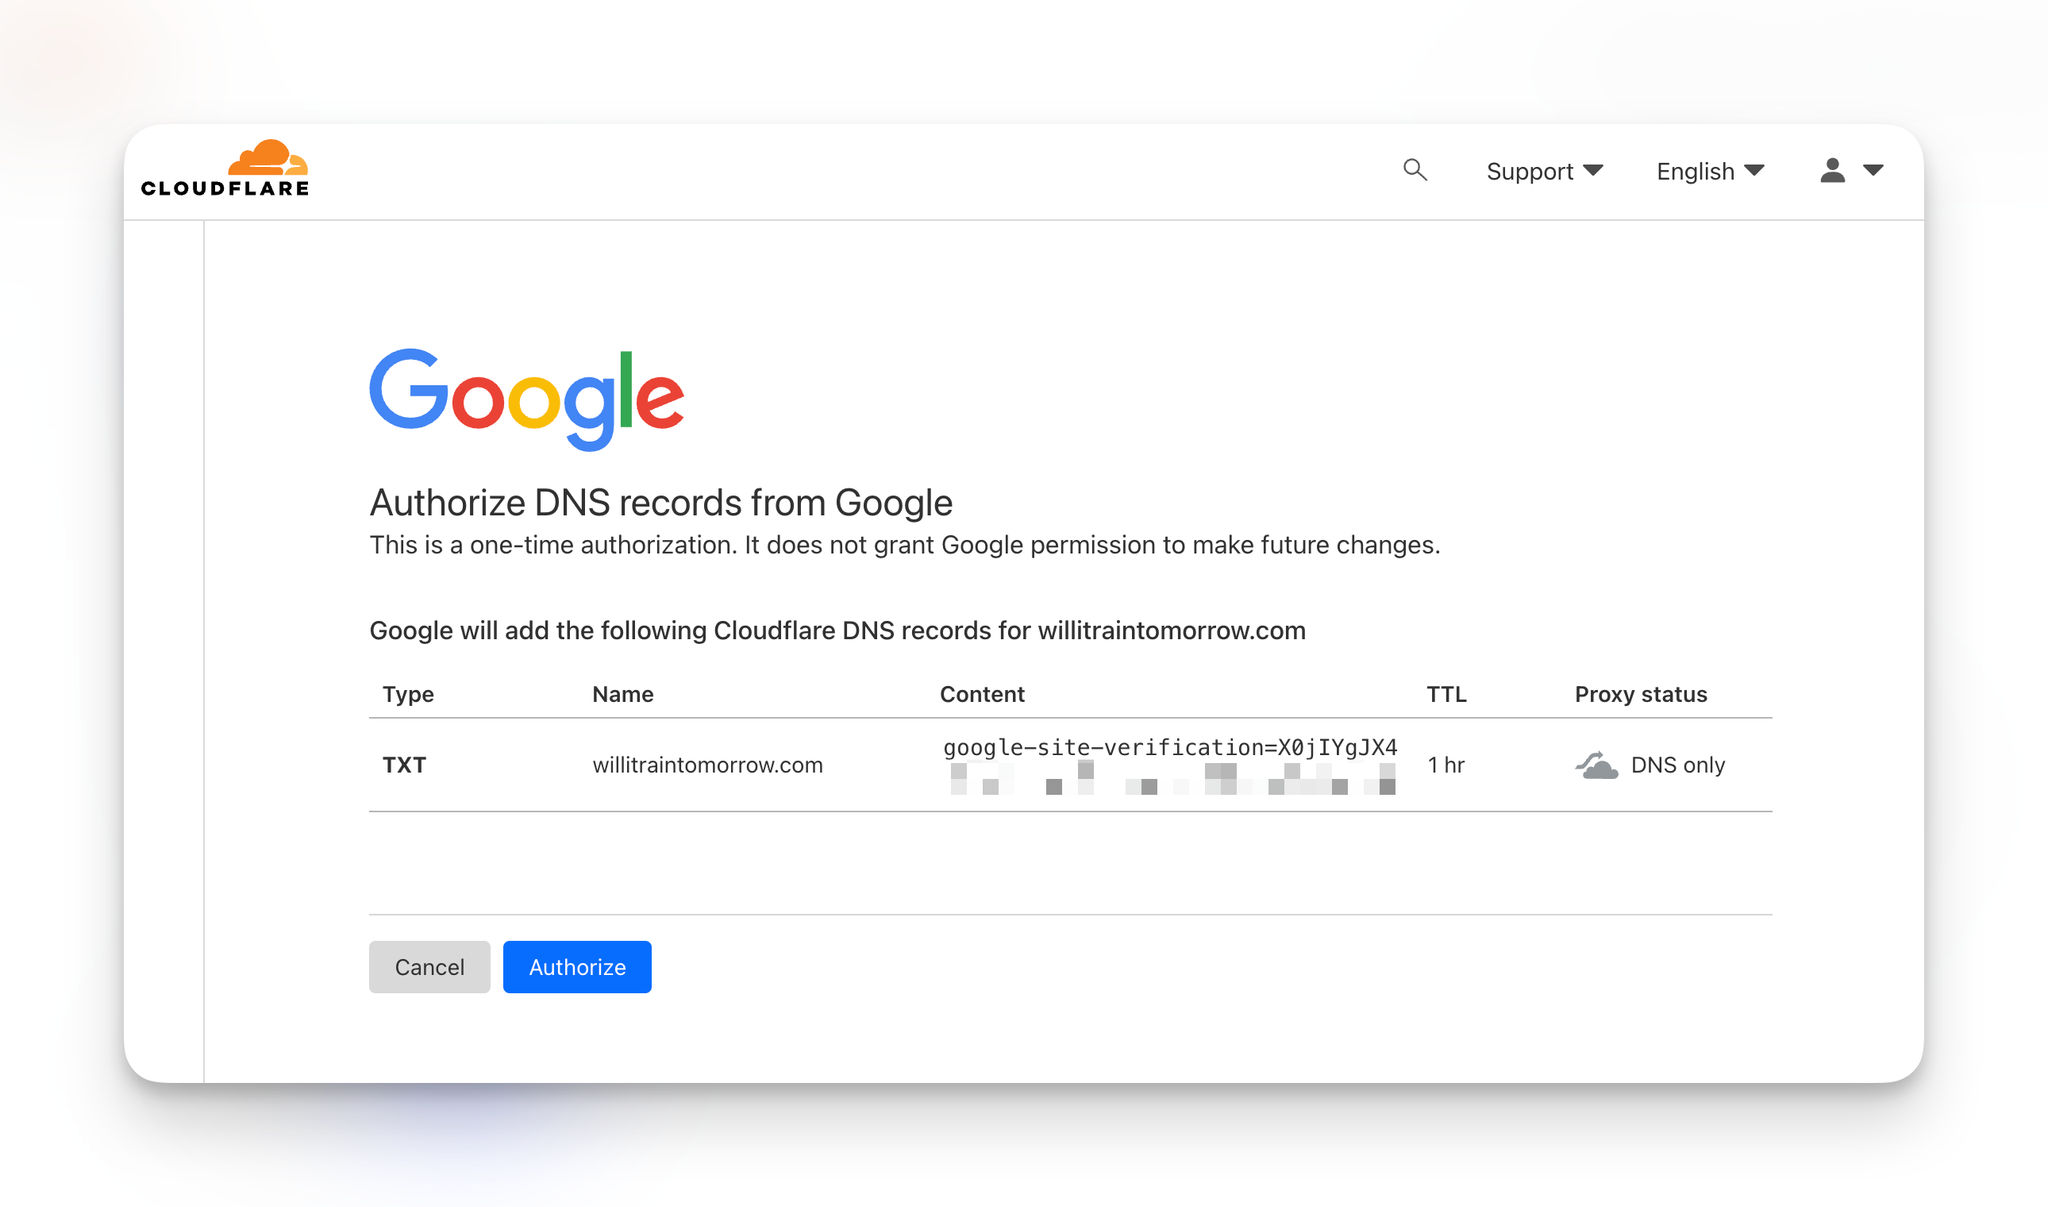
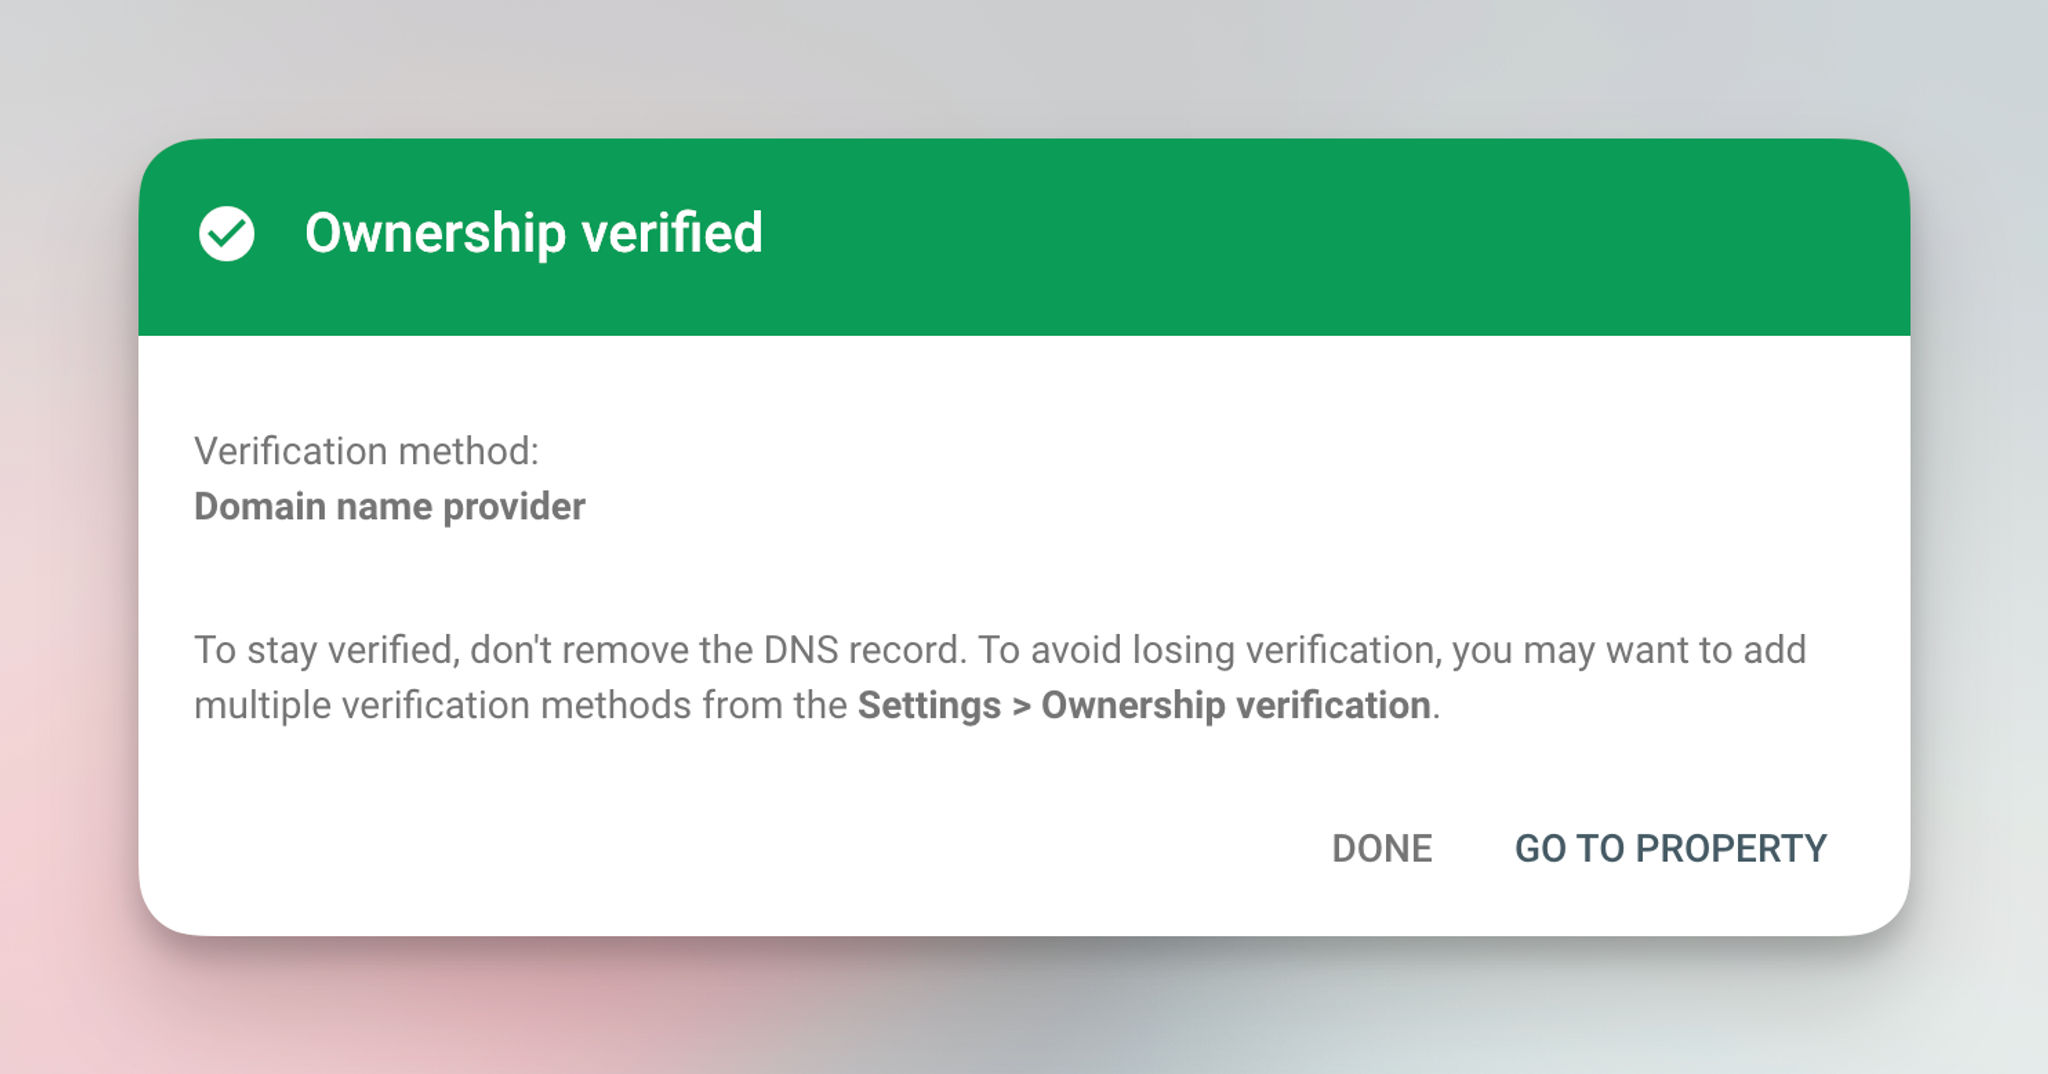
If everything is okay, your site should be verified now.
If you're not using Cloudflare, click on the dropdown and choose "Any DNS provider".
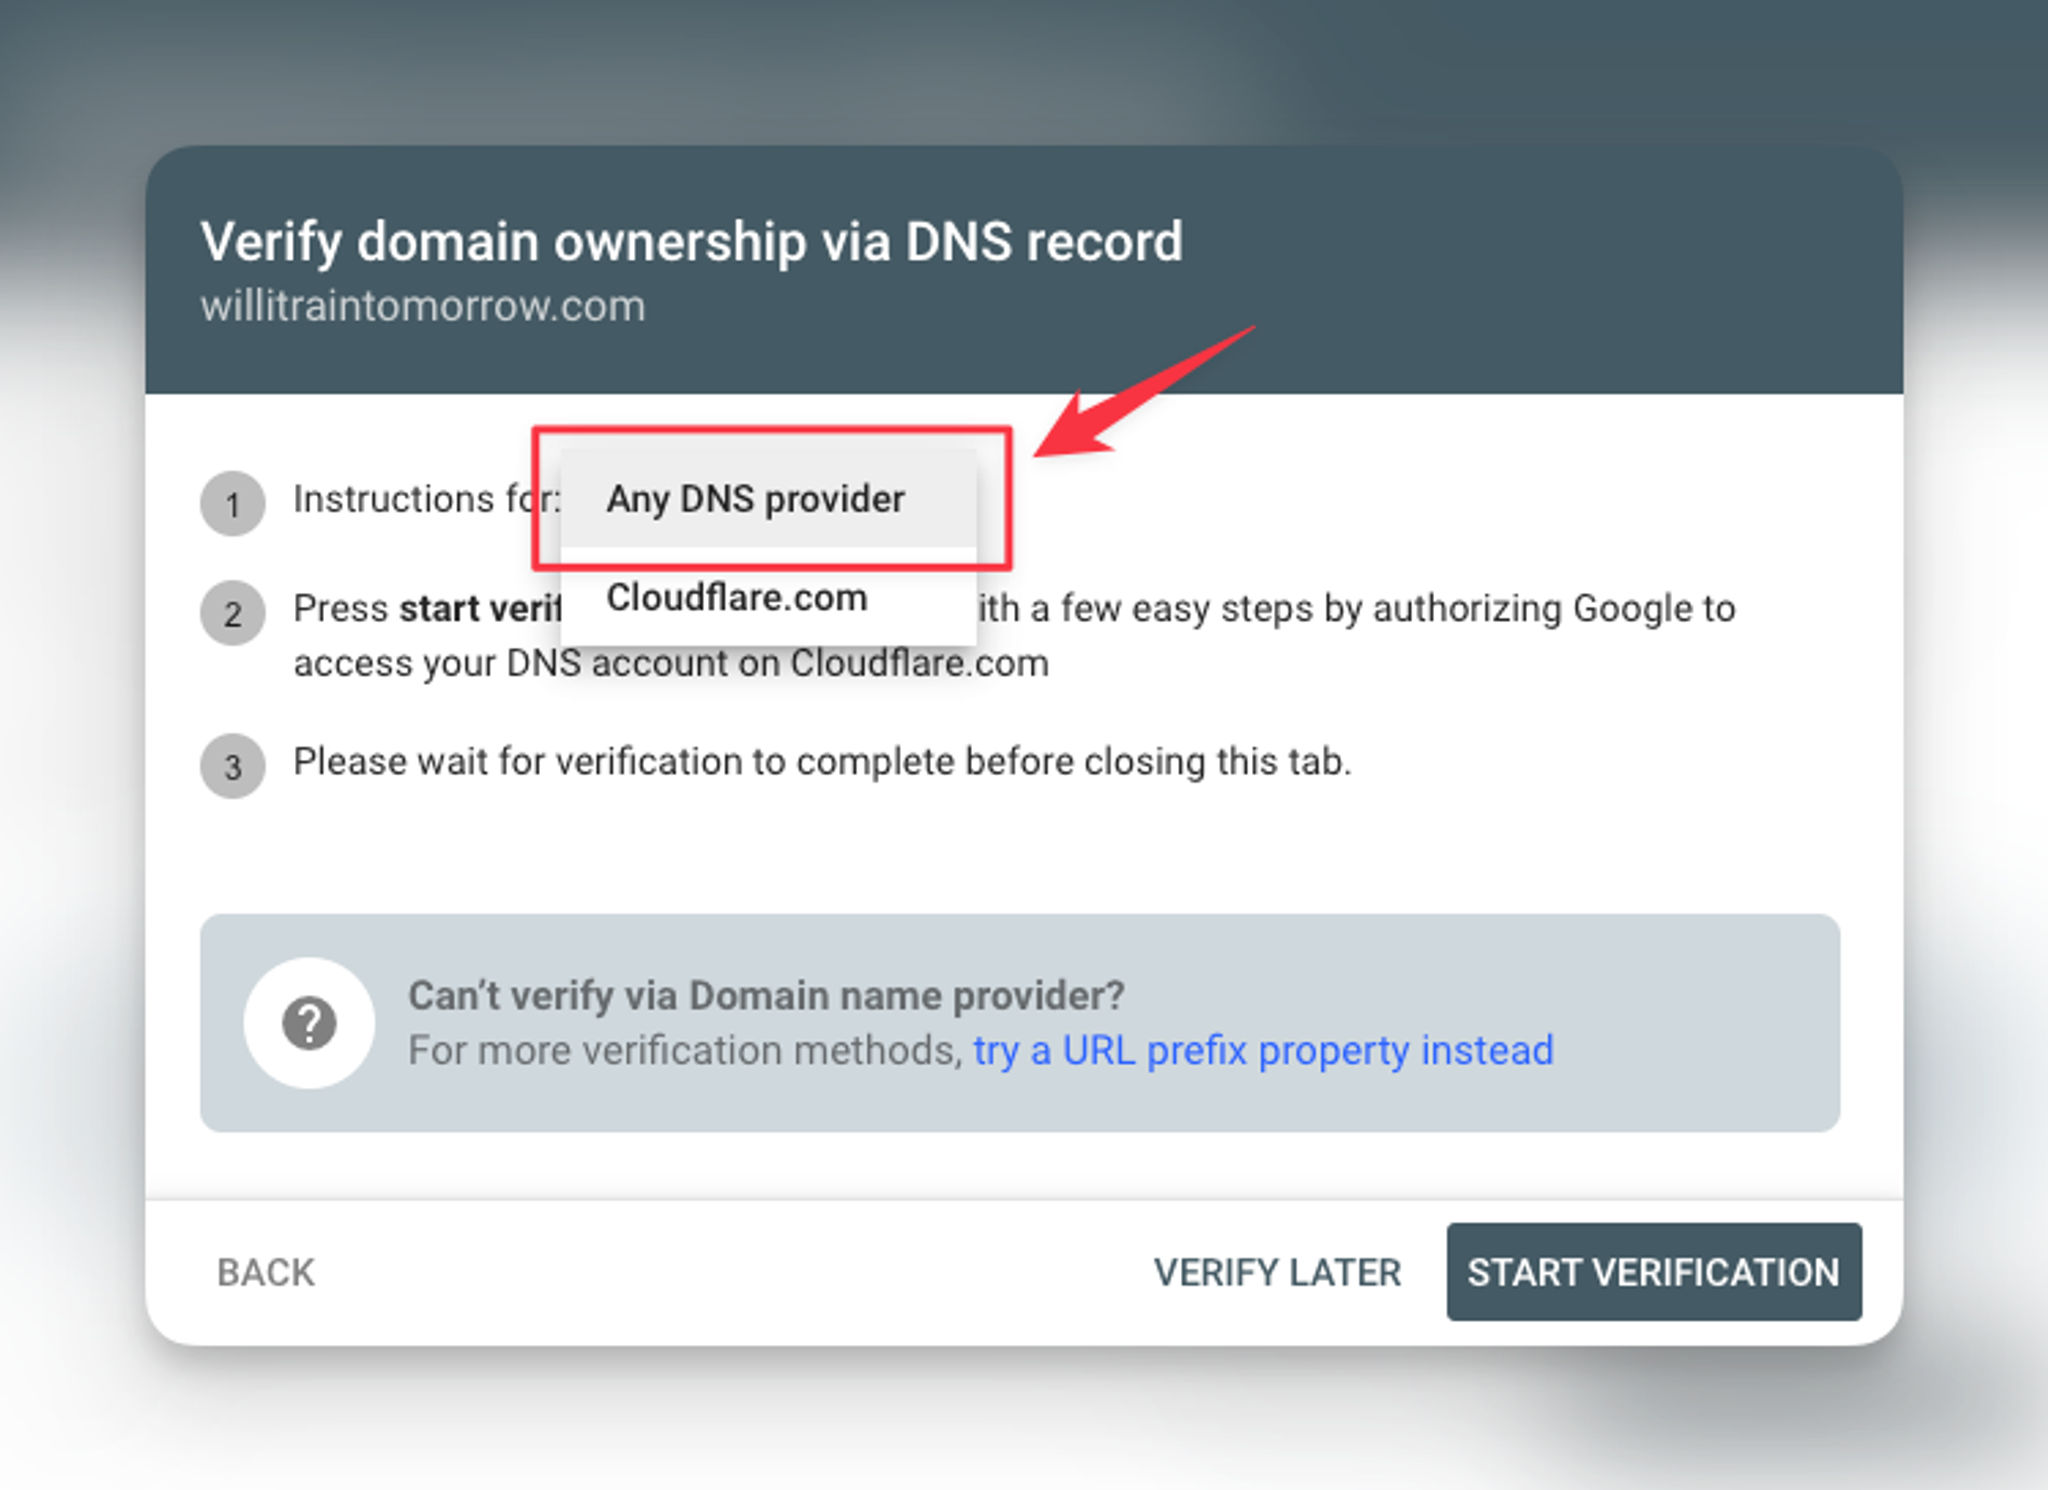
Next, click on the "COPY" button to copy the TXT record.

Once you copy the record, you can log in to your domain registrar and add it to your DNS configuration.
When you're done, you can click "VERIFY".
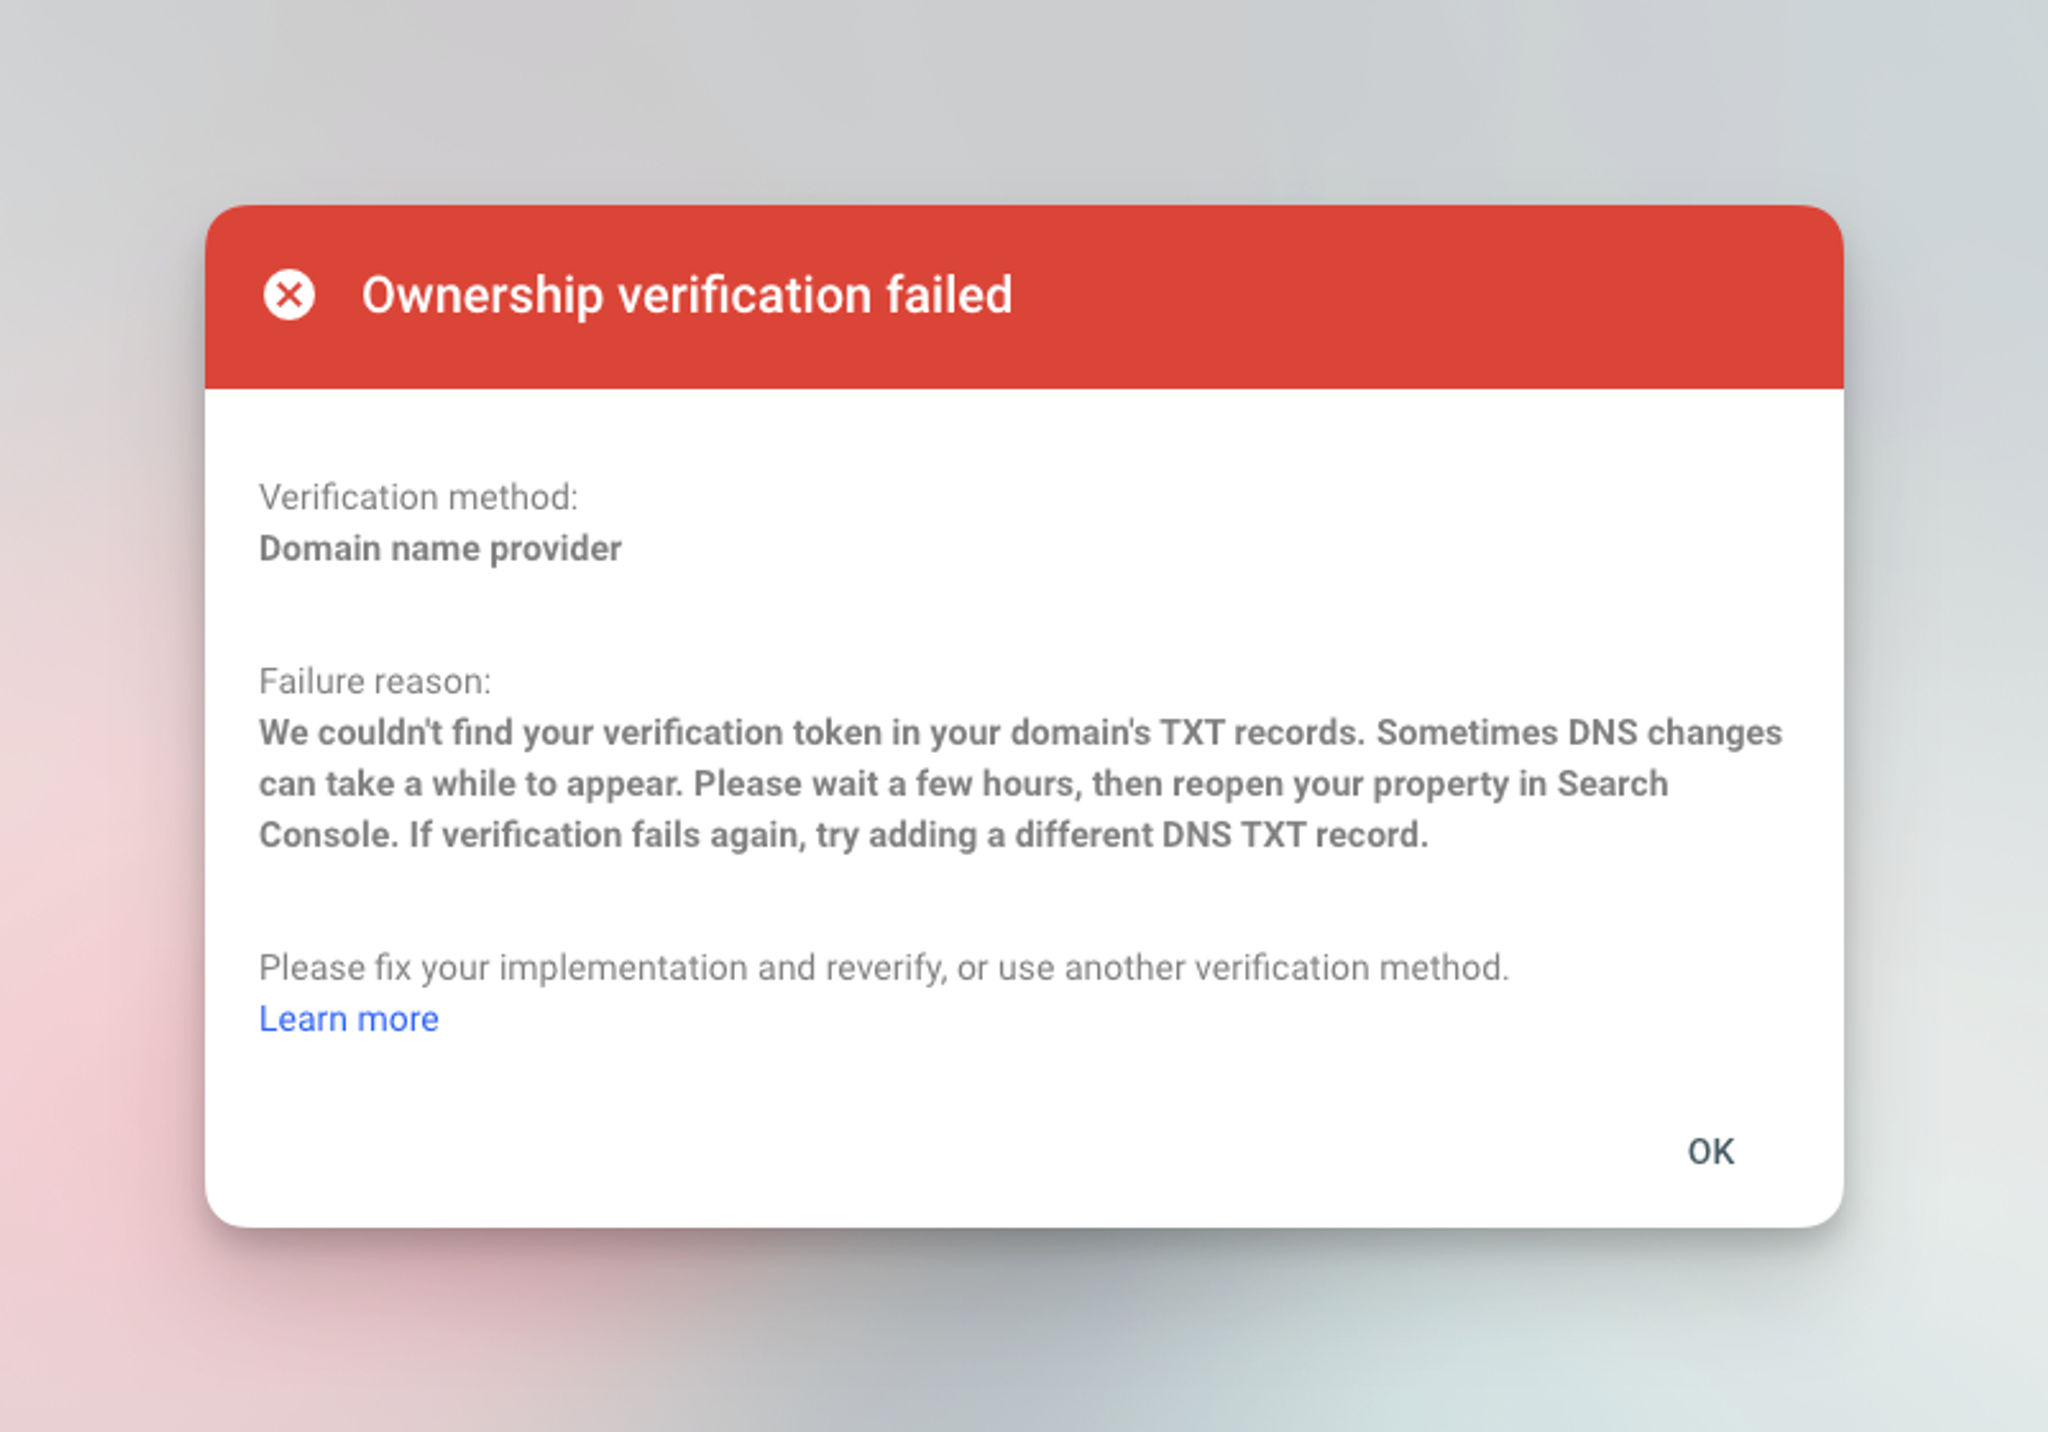
Sometimes DNS changes can take a while to propagate and you might see the following error message.
Make sure you've entered the correct TXT records on your DNS and try to verify again later.
Verify a URL Prefix Property
If you add your website using a URL prefix property, there are a couple of ways you could verify your ownership.
The recommended verification method is by uploading an HTML file.
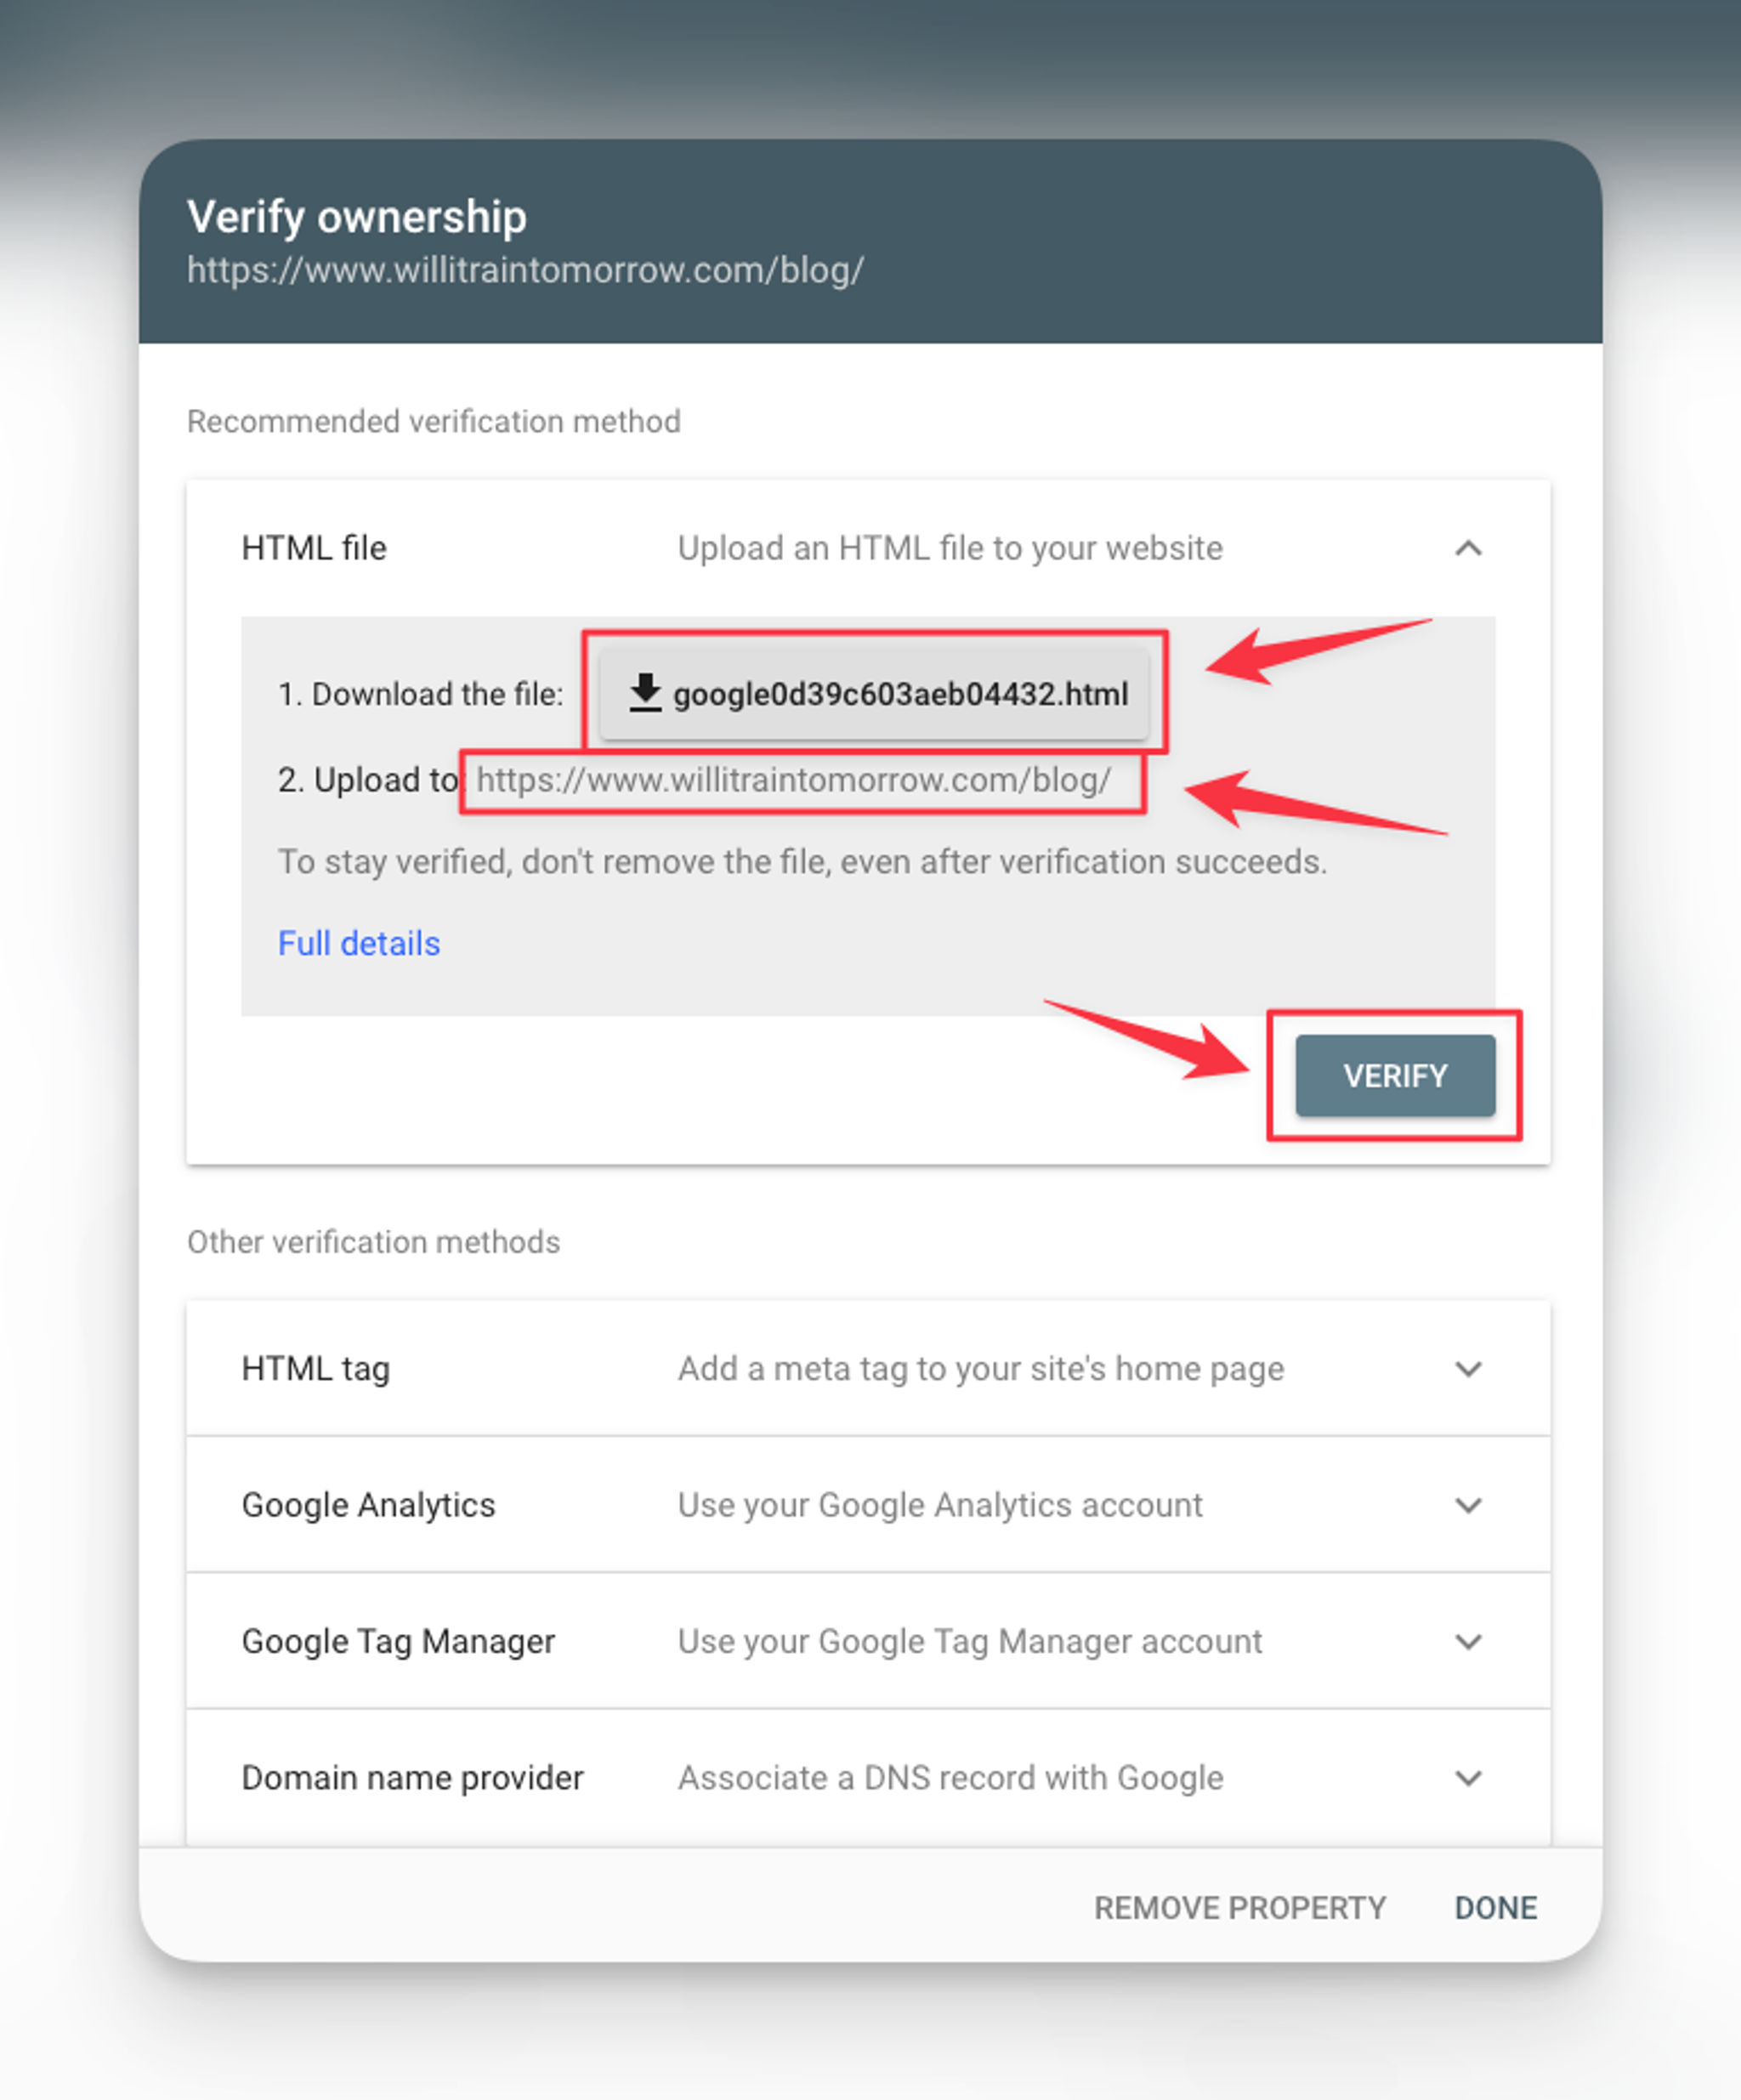
Simply click on "HTML file" to expand the accordion and click on the download file button found in step 1.
Next, upload the file you've downloaded to the root directory of the website you want to verify.
Because I added https://www.willitraintomorrow.com/blog as the URL prefix property earlier, I need to upload the file to /blog/ directory.
Once you're done, click the "VERIFY" button.
Google Search Console will verify the /blog/ and all the child directories inside /blog.
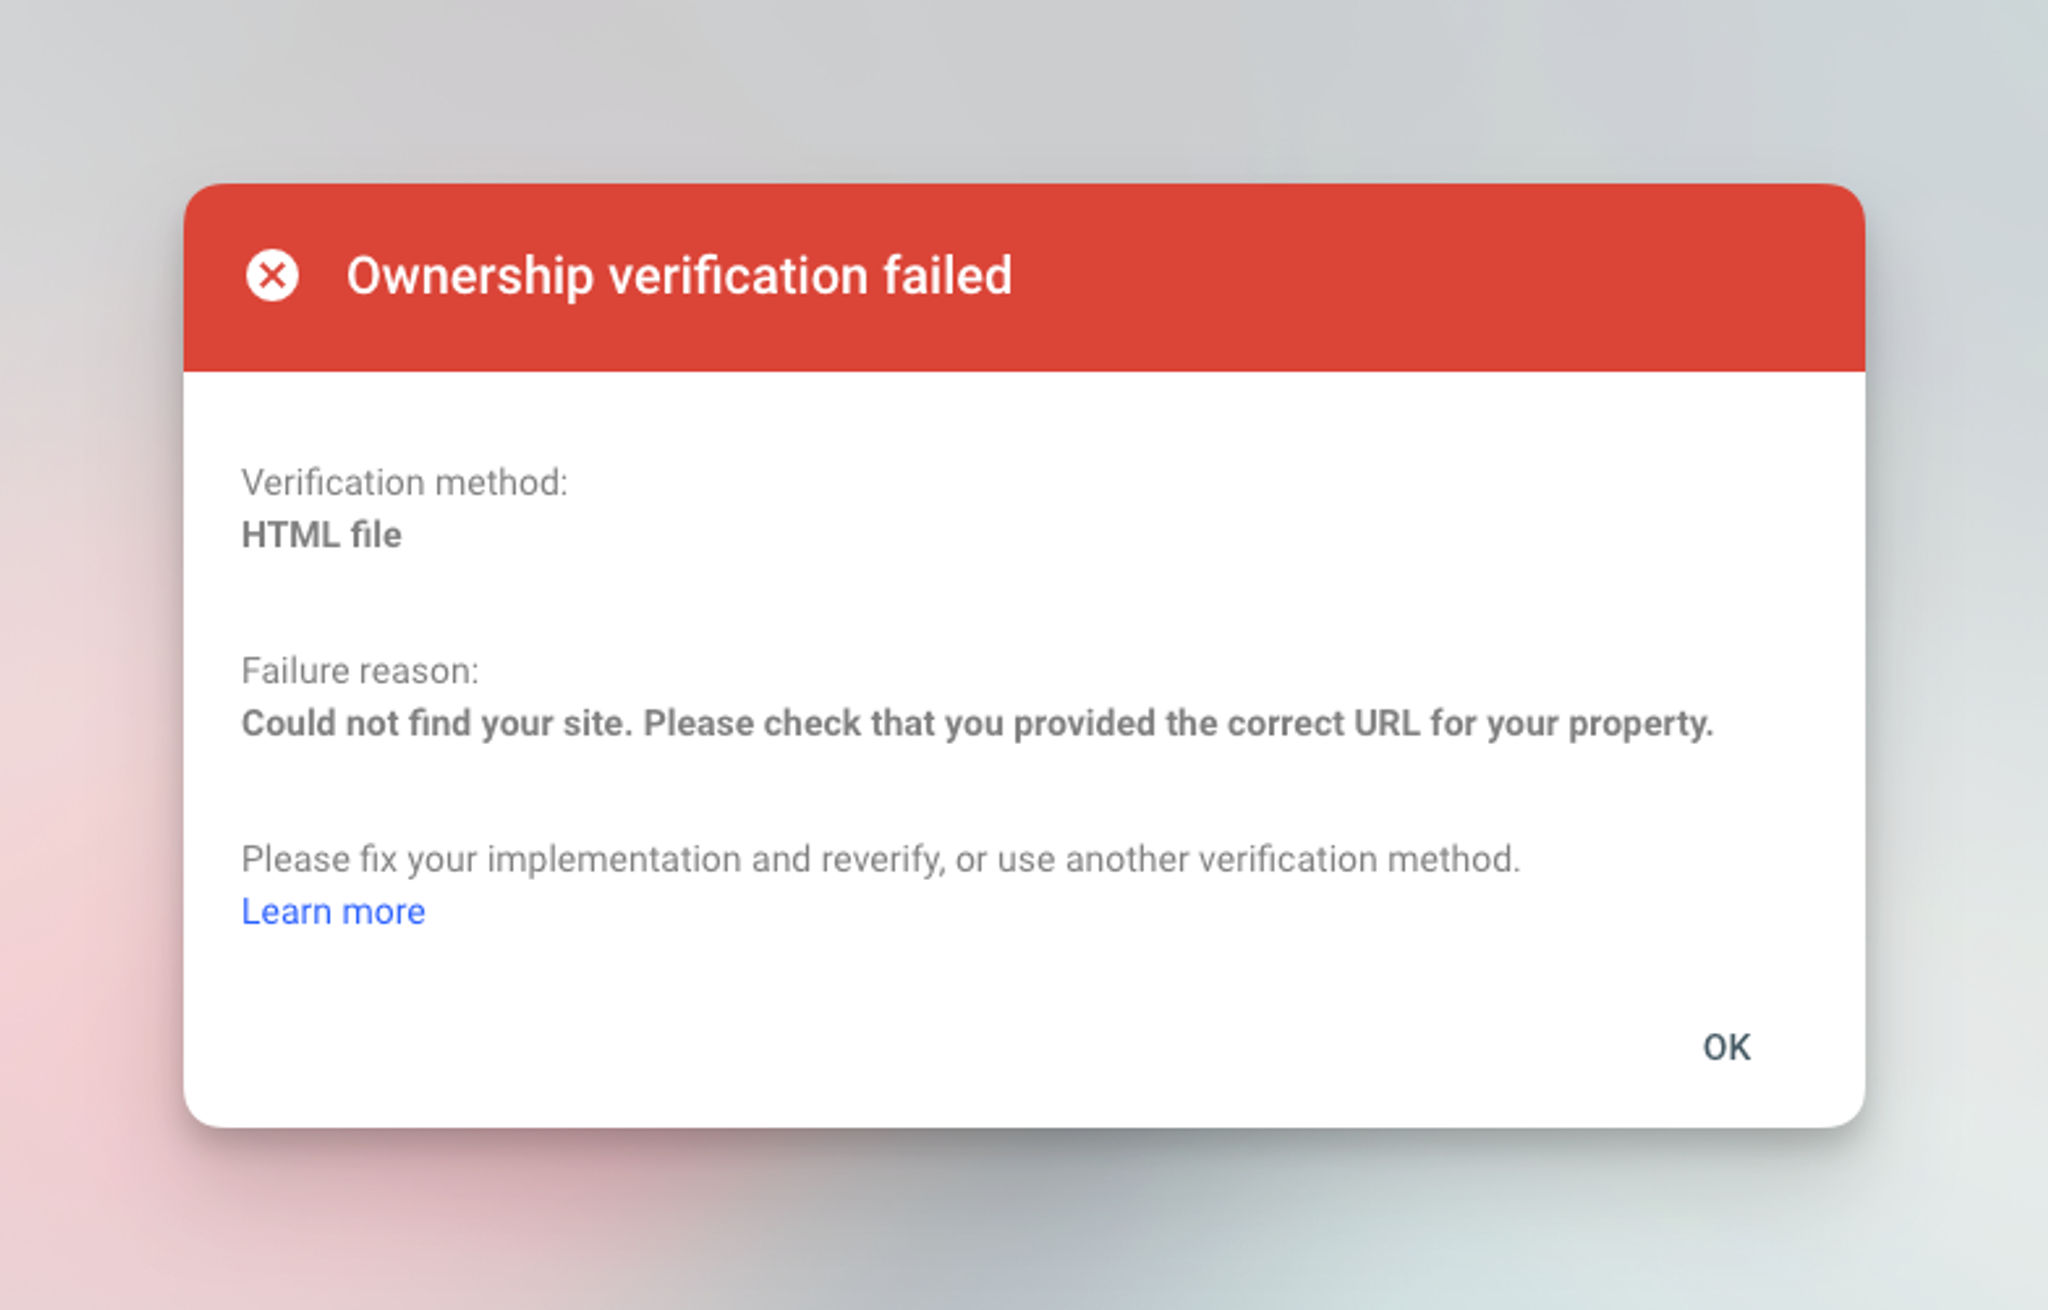
You might encounter the following error message if Google can't find the HTML file. Make sure you uploaded the file to the correct directory.
To keep your website verified, don't remove the file even after your website is verified.
Similar to verifying a domain property, you could also verify your URL prefix property using DNS records as well.
Click on "Domain name provider" and follow the same step mentioned above.

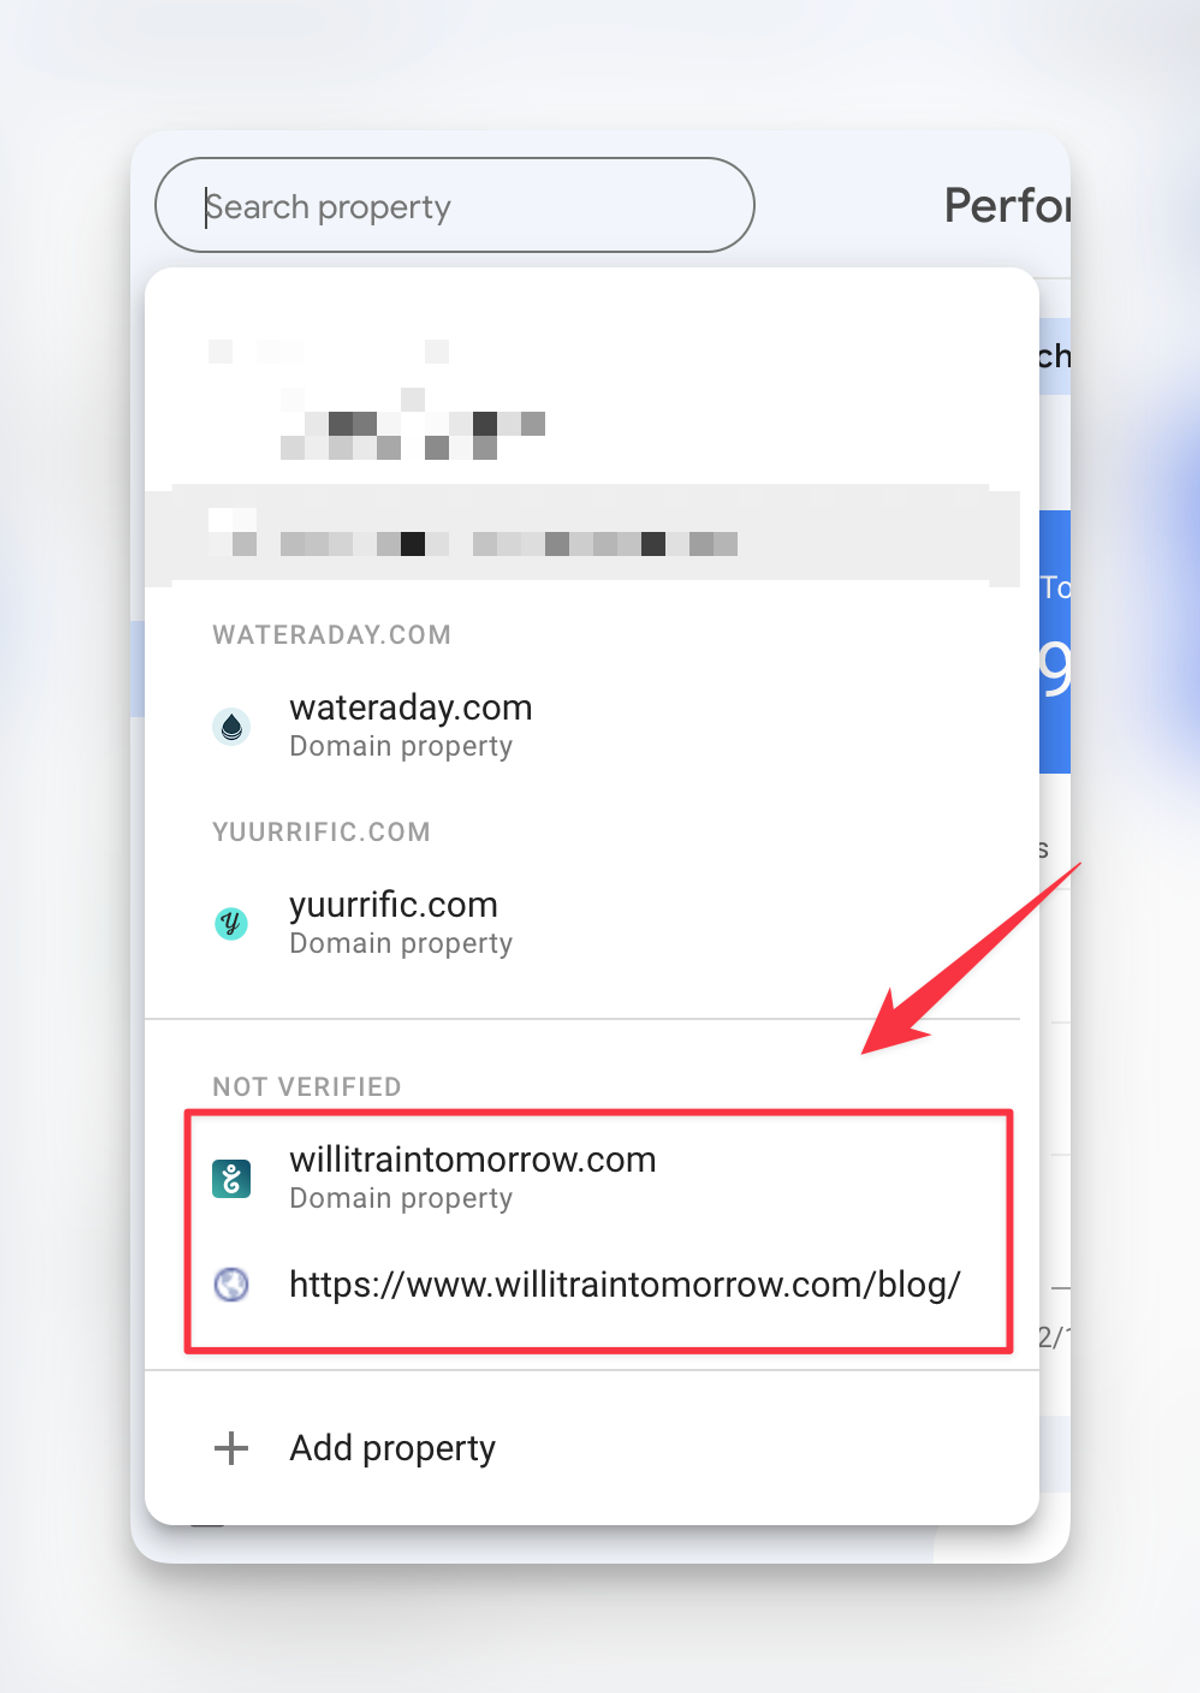
If you can't verify your website now, you could click "VERIFY LATER" and simply find your website from the "Search property" dropdown on the top left corner to start the verification process.
What's Next?
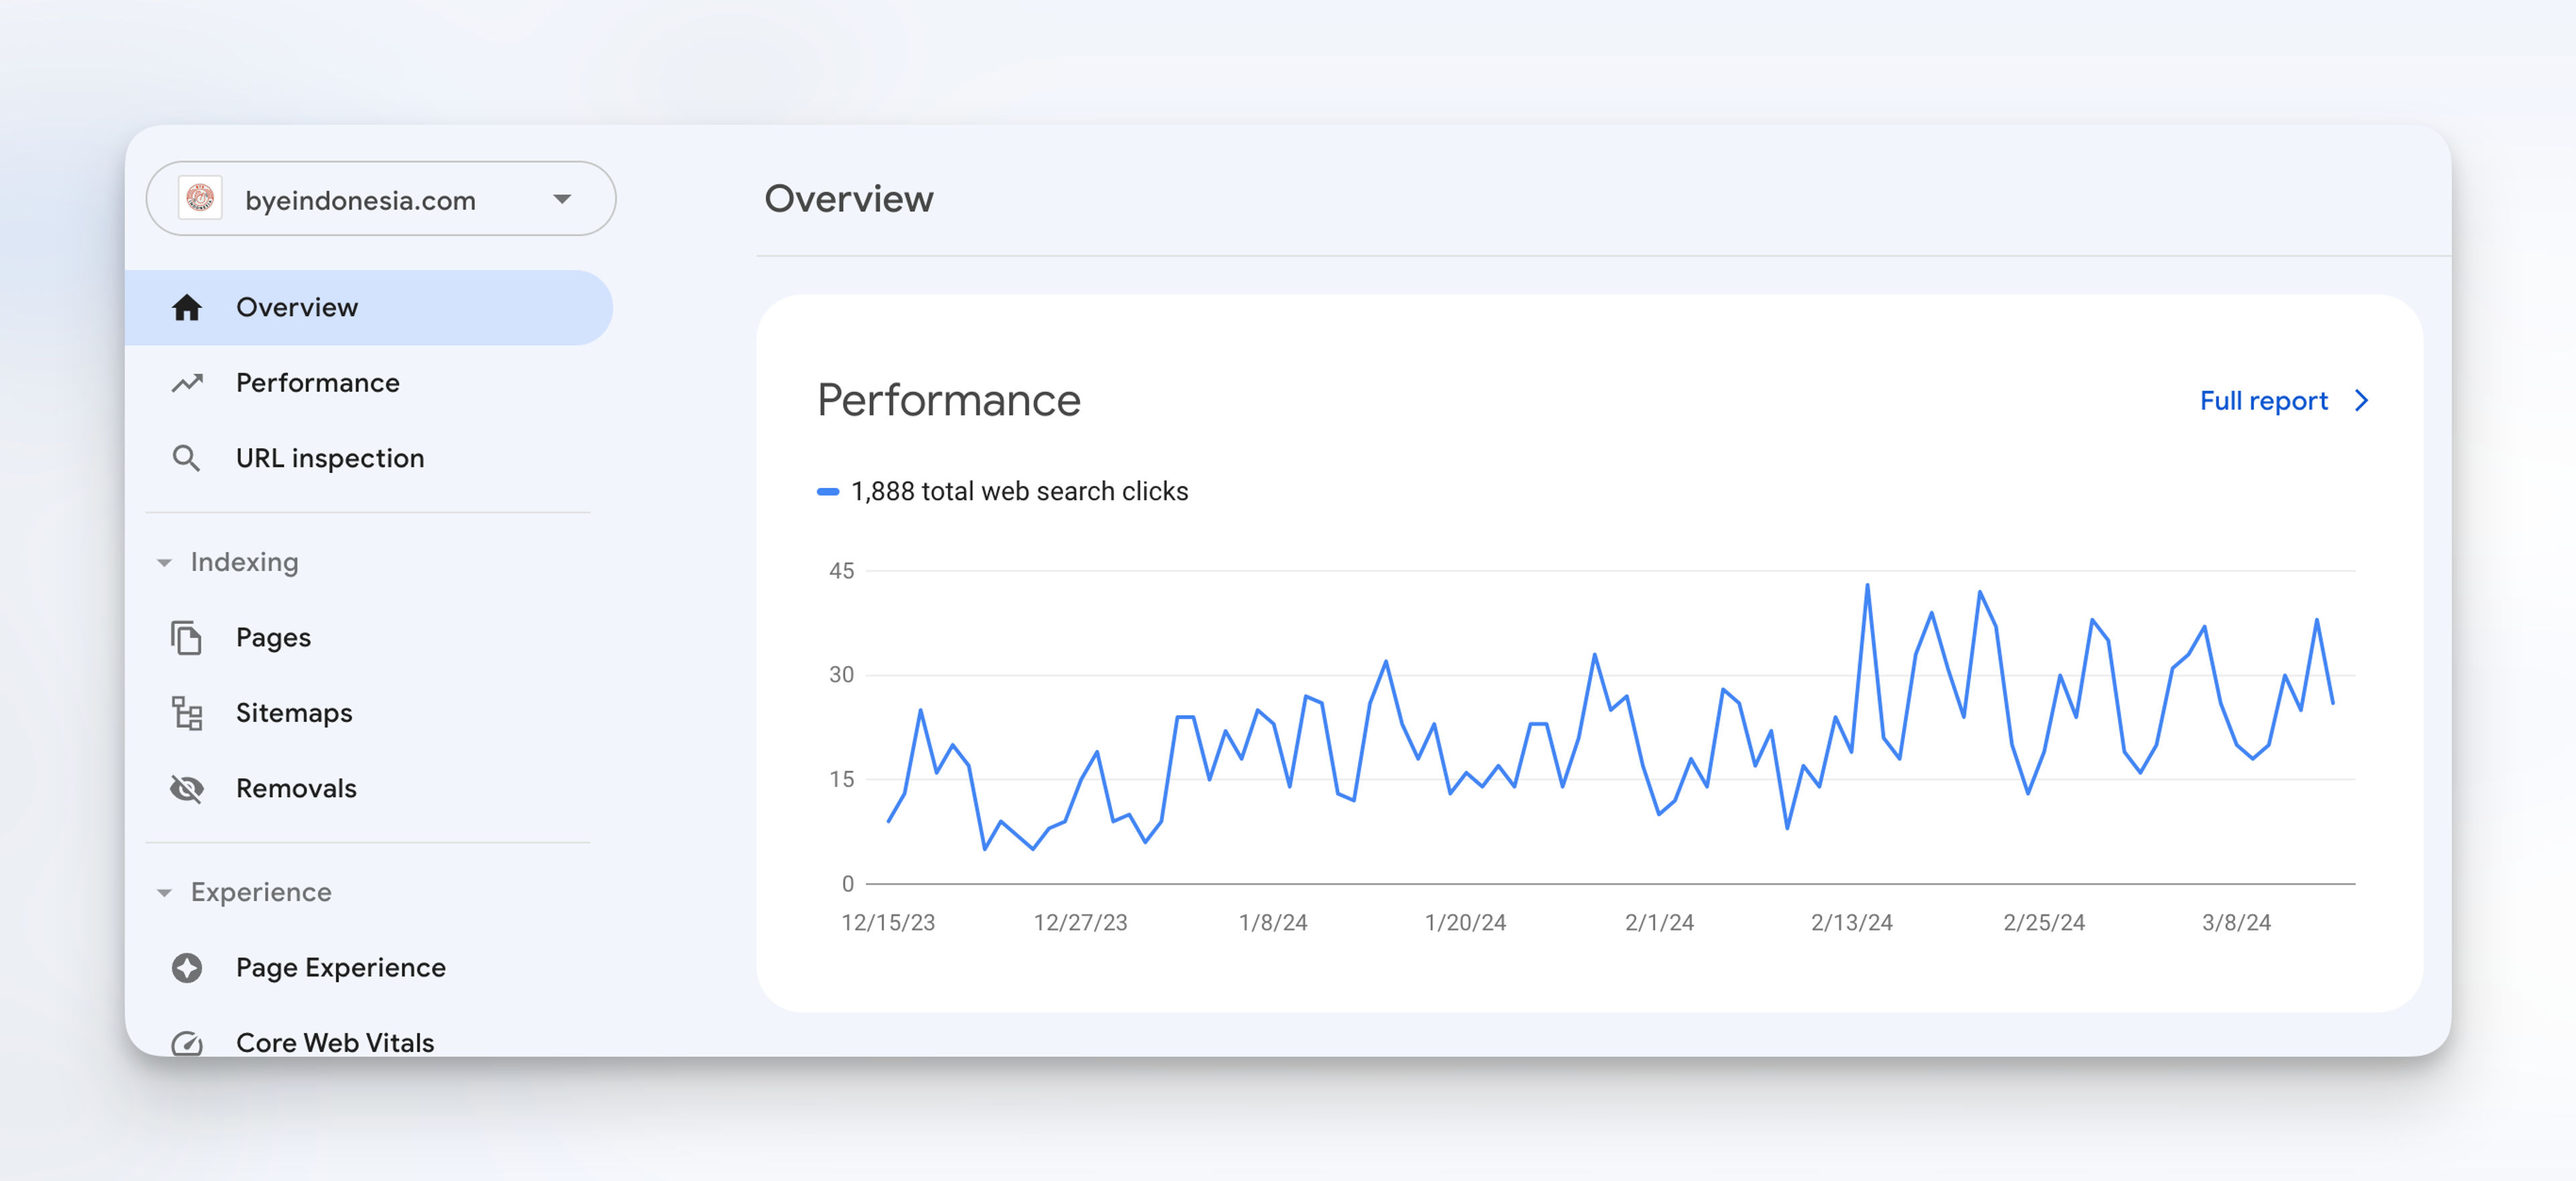
Congrats, your website is now verified with Google Search Console and you could start tracking your website data.
But now what?
While Google could discover your site's pages automatically, submitting an XML sitemap will provide Google with comprehensive overview of your website structure allowing Google to crawl and index your site more efficiently.
If you're working on a large website, I strongly recommend Index Rusher which takes care of indexing your pages automatically. It gets my pages indexed in a day as compared to the average 4 days Google takes to crawl.
Conclusion
By following this step-by-step guide, you can set up Google Search Console and start leveraging its powerful features to optimize your website's performance in Google search results.
Google Search Console is a powerful tool and it might be difficult to make sense of the data tracked over time. I've used these 2 tools to supercharge Google Search Console.